When to Harvest Potatoes: Two Crops From One Plant
New potatoes come at flowering; storage potatoes need the tops to die back first. How to tell which stage you are at, and how to cure them so they keep.

On this page
A potato plant will give you two entirely different crops depending on when you put a fork in the ground. Dig early and you get small, waxy, thin-skinned new potatoes that need eating within days. Wait for the plant to die and you get maincrop potatoes that keep until spring.
Neither is more correct. But harvesting a storage crop on a new-potato schedule is the usual reason home-grown potatoes go soft in the sack by Christmas.
The two harvests
| New potatoes | Storage (maincrop) | |
|---|---|---|
| When | At flowering | After the tops die back |
| Days from planting | 60–90 | 90–130 |
| Skin | Thin, rubs off | Thick, set |
| Texture | Waxy | Floury to waxy by variety |
| Storage life | Days | Months |
| Curing needed | No | Yes — 10–14 days |
| How to take them | Feel into the ridge by hand | Lift the whole plant |
The nice thing about new potatoes is that taking them is not destructive. Slide a hand into the side of the ridge, feel for tubers of a usable size, take two or three, and firm the soil back. The plant carries on growing and you can come back a week later.
Reading the plant
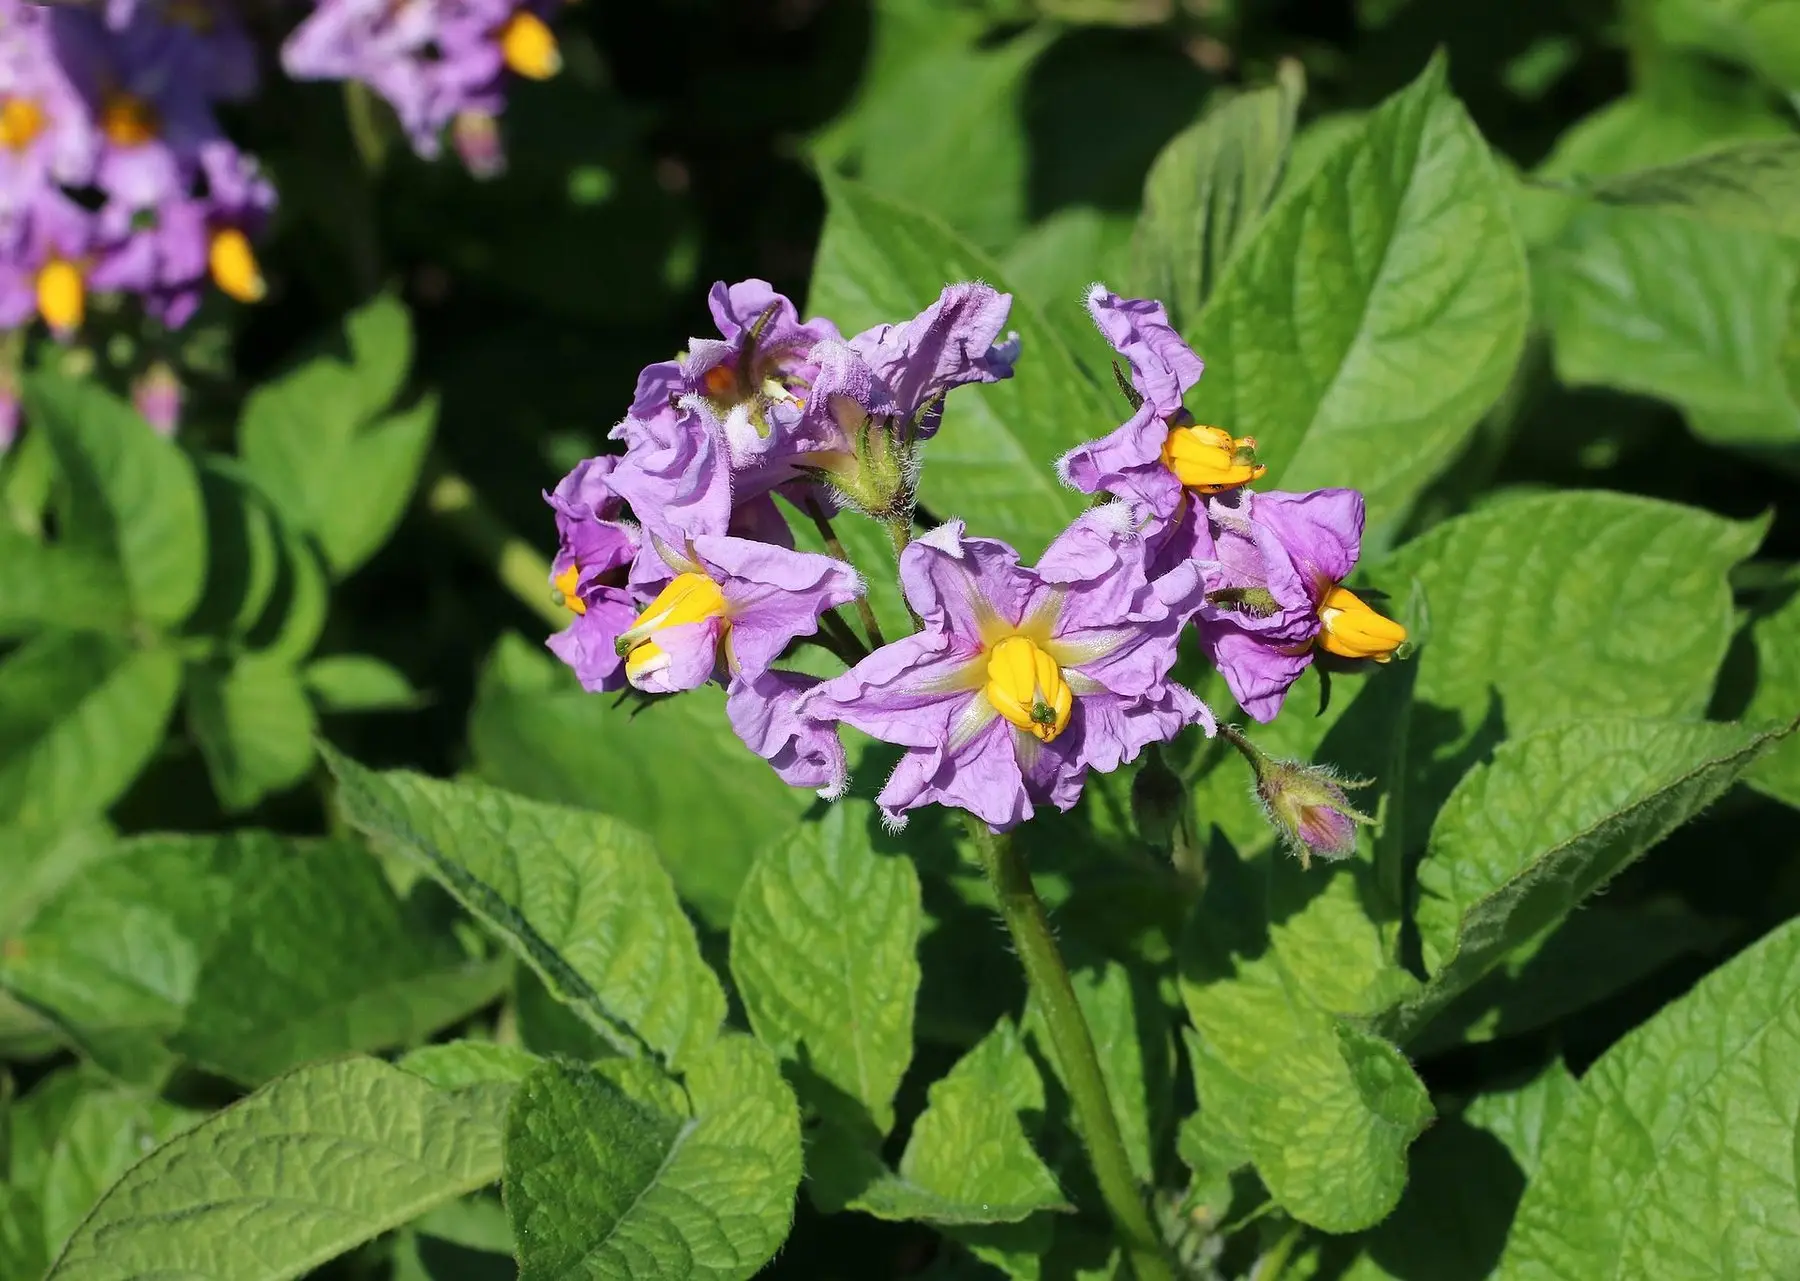
Flowering means tubers have started forming. It is a rough signal rather than a precise one, and some varieties flower sparsely or not at all — with those, count days from planting instead.
Yellowing and collapse of the foliage is the real signal for a storage crop. The plant has finished moving sugars down into the tubers and is shutting up shop. From that moment the tubers stop growing and start setting their skins.
Dying tops are not always ripeness
Foliage can also collapse from blight, drought, or frost, and those look superficially similar. Blight in particular — brown blotches with pale margins, spreading fast in warm wet weather — means you should cut the haulm off at ground level and leave the tubers underground for two or three weeks so spores on the surface die before you lift. Lifting into blight spores puts the disease straight into your store.
The two weeks that decide storage life
Once the tops are dead, leave the crop in the ground for another ten to fourteen days, assuming the soil is not waterlogged. Nothing visible happens. Underground, the skins are thickening and sealing.
This step gets skipped constantly, and it is the main reason home-grown potatoes disappoint in storage. A potato lifted with a skin you can rub off has no barrier against moisture loss or rot.
The test takes five seconds: dig one tuber and rub your thumb firmly across it. Skin that slides or scuffs means wait. Skin that stays put means lift.
Lifting without damaging the crop
Go in with a fork a good foot away from the stem and lever upward rather than stabbing downward close in. A speared potato cannot be stored — it goes in the eat-this-week pile.
Pick a dry day. Wet soil clings, and tubers lifted into mud need washing, which ruins them for storage. Afterwards, go back through the soil by hand: any tuber left behind sprouts next spring as a volunteer, and volunteers are a standard route for blight and other diseases to carry over.
Curing and storing
Leave the lifted crop on the soil surface for two or three hours so the clinging soil dries and brushes off. Then cure: a single layer, somewhere dark, humid, and 45–60°F, for ten to fourteen days.
Sort ruthlessly before storing
Go through the whole crop and pull out anything speared, cut, soft, or showing green. One rotting tuber will take a crate with it. Damaged potatoes are perfectly good food — just eat them first rather than storing them.
Store at 38–45°F in complete darkness, in paper sacks, hessian, or open crates. Never sealed plastic, which traps moisture. Keep them away from apples and other ripening fruit, whose ethylene triggers sprouting.
Green potatoes are the one genuine safety point. Light exposure produces chlorophyll — harmless in itself — alongside solanine, which is not. Green patches should be cut away generously, and heavily greened tubers discarded. Earthing up during growth and full darkness in storage prevent it.
Step by step
- Time
- P14D
- Cost
- $0
- You need
- A planted potato crop, Cardboard or paper for curing
- Tools
- Garden fork, Basket or crate
For new potatoes, wait for flowering
Small, thin-skinned new potatoes are ready around the time the plant flowers, usually 60 to 90 days after planting. Feel gently into the side of the ridge with your hand rather than digging the plant up — you can take a few and leave the plant growing.
For storage potatoes, wait for the tops to die
Maincrop potatoes are ready when the foliage yellows, collapses, and dies back on its own, typically 90 to 130 days after planting. That die-back is the signal that the plant has stopped bulking the tubers and started setting their skins.
Leave them in the ground two more weeks
After the tops die, leave the tubers in the soil for another 10 to 14 days if the ground is not wet. This is when the skins thicken and set, and it is the single biggest factor in whether a potato stores for months or rots in six weeks.
Test a skin before committing
Dig one tuber and rub your thumb hard across it. If the skin scuffs or slides, they need longer. If it stays put, the crop is ready to lift.
Lift on a dry day, from well outside the plant
Push the fork in a good foot away from the stem and lever upward, so you lift the whole nest rather than spearing it. Work through the soil by hand afterwards — strays left behind sprout as volunteers and carry disease into next season.
Dry them on the surface for a few hours
Leave the lifted tubers on the soil surface for two or three hours in dry weather so the surface soil dries and brushes off. Do not wash them; washing removes the protective skin bloom and guarantees they will not store.
Cure for 10–14 days in the dark
Spread them in a single layer somewhere dark, humid, and 45–60°F for about two weeks. Curing heals cuts and thickens skins further. Skipping this is why home-grown potatoes so often go soft by December.
Sort, then store cold and completely dark
Discard anything speared, green, or soft — those spoil the crate. Store the rest at 38–45°F in the dark in paper sacks or crates, never sealed plastic, and never beside apples, whose ethylene makes potatoes sprout.
Common questions
How do you know when potatoes are ready to harvest?
Can you harvest potatoes before the plant flowers?
What happens if you leave potatoes in the ground too long?
Why do I need to cure potatoes?
Should you wash potatoes before storing them?
Backyard Weekly
Know what to plant, week by week
Free planting calendar. Join the weekly email for seasonal jobs, fixes for what is going wrong, and gear worth buying.
Set MONETIZATION.email.endpoint in src/config/site.ts to enable this form.
By subscribing you agree to our privacy policy. Grow In Backyard will never sell your address.
Keep reading
When to Harvest Garlic (Count the Brown Leaves)
Garlic is ready when three or four lower leaves have browned and five or six are still green — usually July. How to read the plant and test before you dig.
How to Grow Onions: Day Length Decides Your Bulb Size
Onions bulb on day length, not on age — so the wrong variety for your latitude never sizes up. How to pick the right type, plant it, and feed it to a full bulb.
When to Harvest Pumpkins: Three Signs, Not the Calendar
Rind hardness, stem colour and a hollow sound tell you it is ready. Why you must cut the stem rather than carry by it, and the curing that decides storage life.
When to Pick Jalapeños: Green, Red, and Corked
Pick green at full size and firm for classic heat, or leave them to red for sweetness. What the white corking lines mean, and why picking gives you more.