How to Build a Greenhouse: Siting, Glazing, and Ventilation
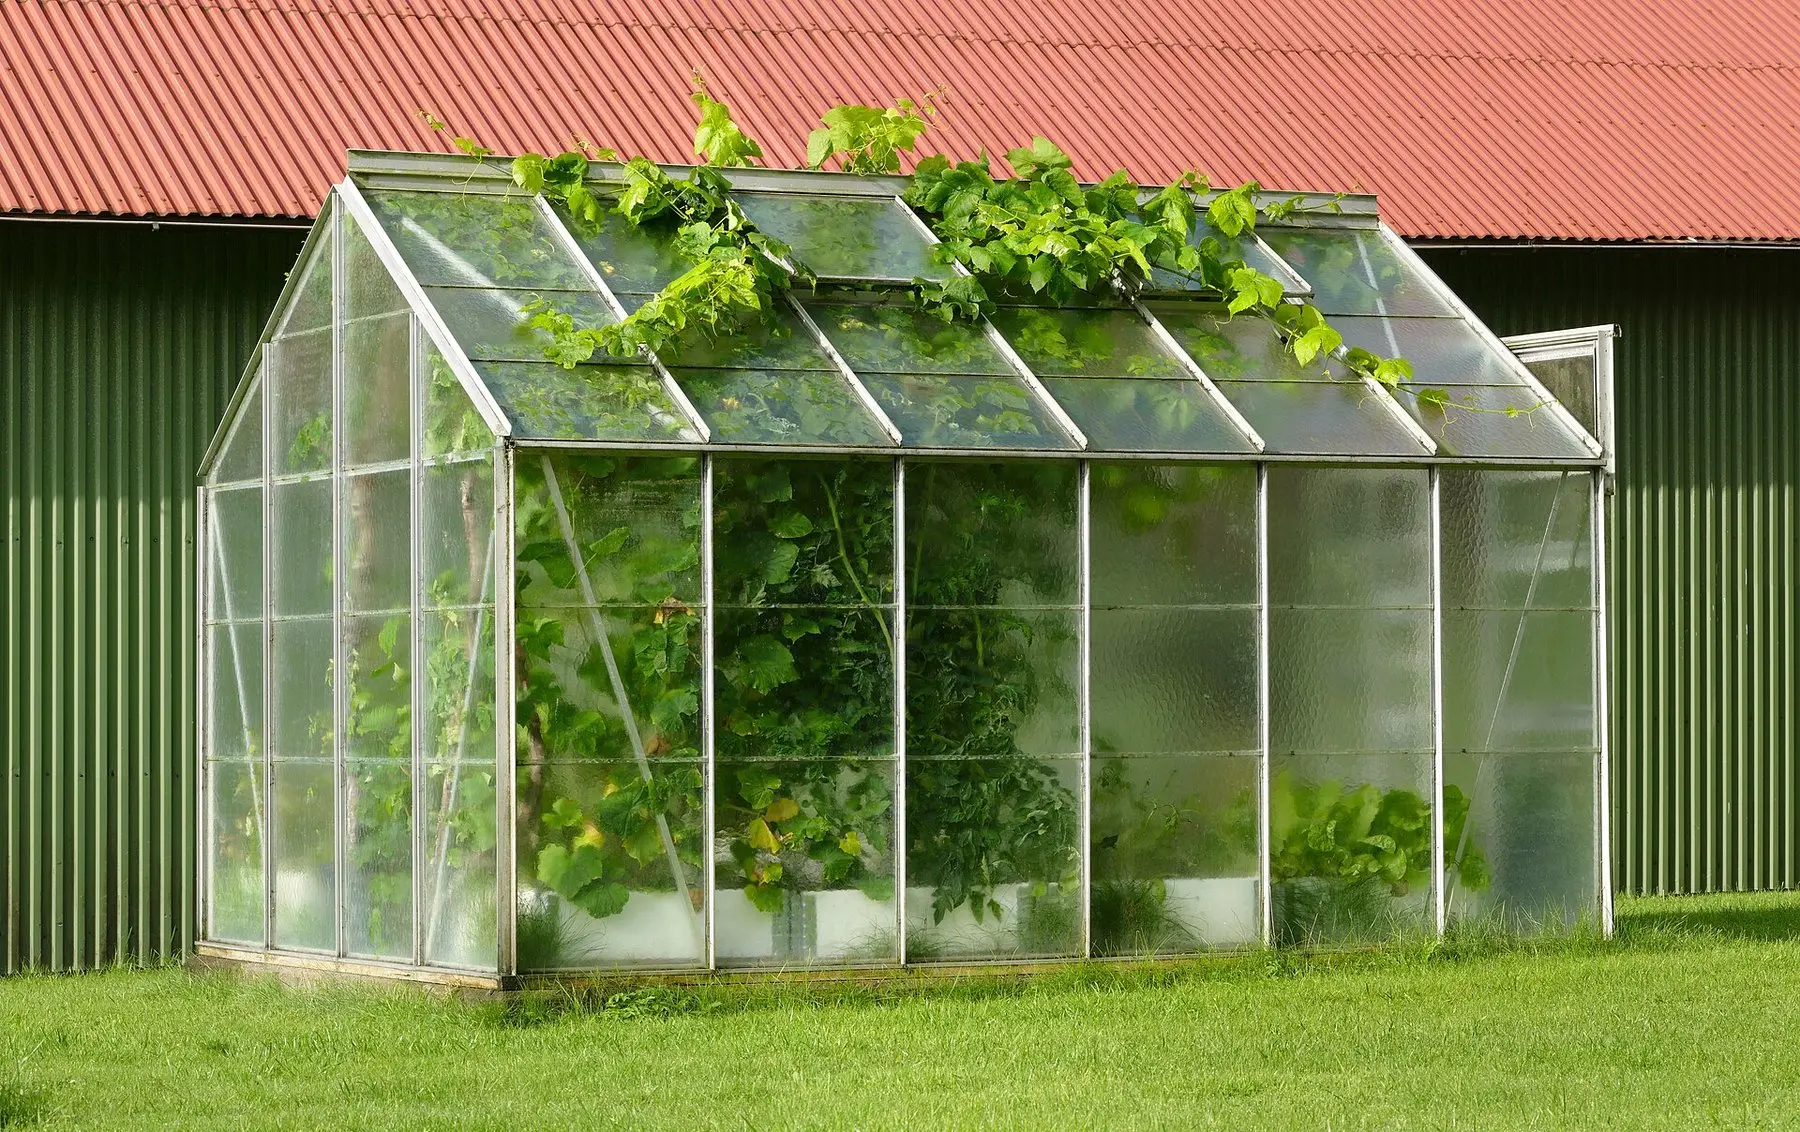
A greenhouse is a heat trap with a ventilation problem. Choosing a site and a glazing material, building a level base, and sizing the vents so it does not cook.

On this page
A greenhouse is a box that traps heat. That is the whole point, and it is also the whole problem — because on a bright spring day a sealed greenhouse can pass 100°F while the air outside is 55°F.
More greenhouse plants are killed by heat than by cold. Almost everything below is downstream of that.
Siting
- Full sun, especially the low winter sun if you want year-round use.
- Shelter from prevailing wind. A greenhouse is a light box with a large sail area, and wind both strips heat and threatens the structure.
- Away from trees. Shade, falling branches, sap and leaf litter on the glazing.
- Not in a frost pocket. Cold air pools at the bottom of a slope and behind solid walls.
- Near water, and ideally near power. You will carry more water than you expect.
Orientation: running the ridge roughly east–west presents the long side to the low winter sun, and is the better choice for a greenhouse used through the winter. For summer growing it makes little difference.
Size
Buy or build bigger than you think you need. Everyone outgrows the first one.
- 6 × 8 ft — a realistic minimum with staging down one side.
- 8 × 10 ft — the size most people end up wishing they had chosen.
- A mini greenhouse or cold frame is a genuinely different tool: excellent for hardening off and raising seedlings, hopeless for growing anything to maturity, and it overheats within minutes because the volume is tiny.
Bigger volumes swing less. A large greenhouse heats and cools more slowly, which makes it far more forgiving.
Glazing
| Material | Light | Insulation | Life | Notes |
|---|---|---|---|---|
| Horticultural glass | Best | Poor | 20+ years | Heavy, breakable, needs a rigid frame |
| Toughened glass | Best | Poor | 20+ years | Safer; more expensive |
| Twin-wall polycarbonate | Good, diffused | Good | 10–15 years | The pragmatic default |
| Triple-wall polycarbonate | Fair, diffused | Very good | 10–15 years | For cold climates |
| Polythene film | Good initially | Poor | 2–4 years | Cheapest; for polytunnels |
Diffused light is an advantage, not a compromise. Polycarbonate scatters light so it reaches lower leaves and does not focus into scorching hot spots, which is why commercial growers often prefer it over clear glass.
With twin-wall polycarbonate, run the flutes vertically so condensation can drain out, and tape the top edge with solid tape and the bottom with vented tape. Sealing both ends traps water and algae inside the channels, which is a slow, ugly, irreversible failure.
The base
The base is where a self-built greenhouse succeeds or fails.
- Mark out the footprint and check the diagonals match — that is what makes it square.
- Excavate, then compact a hardcore layer.
- Finish with slabs, gravel over a weed membrane, or a treated timber perimeter.
- Check level in every direction, repeatedly.
A twisted frame will not seal, doors will not close, and glass panes crack under the stress. Gravel over membrane drains better than concrete and is more forgiving underfoot.
Ventilation, properly
Vent area should total at least a fifth of the floor area, and the placement matters as much as the total.
- Roof vents let hot air out at the top, where it collects.
- Low side vents or louvres let cool air in at the bottom.
Together they drive a convection flow through the house. Roof vents alone are much less effective, and propping the door open is a poor substitute.
Automatic vent openers are the best money you will spend
A wax-cylinder opener needs no electricity: the wax expands as it warms and pushes the vent open, then closes as it cools. It works on the hot Tuesday afternoon when you are at work, which is exactly when a closed greenhouse does its damage. Fit them to every roof vent.
Shading from late spring — netting, blinds, or shade paint — cuts peak temperature further, and is easier than trying to vent your way out of high summer.
Heat, stored and added
Thermal mass is free and underrated. Barrels or water butts of water inside the greenhouse absorb heat through the day and give it back overnight, flattening the swing that stresses plants. Dark containers work better. A solid paved path or a brick back wall does the same job.
Insulation for winter: bubble polythene clipped to the inside of the frame cuts heat loss substantially, at the cost of some light. Worth it in a cold climate, and worth removing in spring.
Heating, if you need frost protection, means a thermostatic electric heater or a paraffin heater. Set a thermostat to just above freezing rather than to a comfortable temperature — the running cost difference is very large, and most tender plants need only to be kept from freezing.
Kit or self-build?
A kit’s real value is not the price. It is that the frame is engineered to take wind and snow loads, and the glazing system is designed to drain water outward. Both are genuinely hard to get right from scratch.
Self-building with reclaimed windows produces something charming, heavy, hard to seal, and usually under-ventilated. If you go that way, plan the vents first and the aesthetics second.
Step by step
- Time
- P3D
- Cost
- $800
- You need
- Frame timber or an aluminium kit, Glazing — glass, twin-wall polycarbonate, or polythene, Gravel, paving slabs, or timber for the base, Fixings, glazing clips, and weatherproof sealant
- Tools
- Spirit level and a long straightedge, Spade and rake, Drill and driver, Tape measure and square
Choose the sunniest, most sheltered spot you have
Aim for full sun, particularly in winter, with shelter from prevailing wind and no overhanging trees. Avoid frost pockets at the bottom of a slope. A greenhouse running roughly east to west catches the most low winter sun on its long side, which matters if you want to use it year round.
Decide the size, then go one size larger
Almost everyone outgrows a greenhouse. A 6 by 8 foot house is a realistic minimum for staging plus growing space, and 8 by 10 is the size people wish they had bought. Larger volumes also swing less violently in temperature, which makes them easier to manage.
Build a level, well-drained base
Mark out and check the diagonals are equal so the base is square, then excavate, compact hardcore, and finish with slabs, gravel over a membrane, or a timber frame. Level matters more than anything else here — a frame built on an uneven base will not seal, and glass panes crack in a twisted frame.
Assemble the frame and anchor it properly
Follow the kit sequence, or build a timber frame with the uprights plumb and the ridge straight. Then anchor it — a greenhouse is a large, light box and wind lifts it. Bolt to the base or to ground anchors at every corner.
Glaze from the bottom up
Fit the lowest panes or sheets first and work upward so each overlaps the one below and sheds water outward. With twin-wall polycarbonate, keep the flutes vertical so condensation drains, and seal the top edge with solid tape and the bottom with vented tape so water can escape.
Fit vents totalling at least a fifth of the floor area
This is where most home-built greenhouses fail. Roof vents plus a low side vent or a door create a convection flow that pulls cool air in low and pushes hot air out high. Automatic wax-cylinder openers need no power and will open on a hot day when you are out.
Add staging, a path, and thermal mass
Staging along one side and a clear working path make the space usable. Water butts or dark barrels of water inside absorb heat during the day and release it overnight, flattening the temperature swing without any running costs.
Fit shading and heating for the extremes
Shade netting or shade paint from late spring prevents scorching in high summer. For winter, a small frost-protection heater with a thermostat, plus bubble insulation on the inside of the frame, is usually enough to keep tender plants alive.
Common questions
How does a greenhouse actually work?
Which glazing is best for a greenhouse?
Where should a greenhouse be positioned?
How much ventilation does a greenhouse need?
Do you need a foundation for a greenhouse?
Is it cheaper to build a greenhouse than to buy a kit?
Backyard Weekly
Know what to plant, week by week
Free planting calendar. Join the weekly email for seasonal jobs, fixes for what is going wrong, and gear worth buying.
Set MONETIZATION.email.endpoint in src/config/site.ts to enable this form.
By subscribing you agree to our privacy policy. Grow In Backyard will never sell your address.
Keep reading
Retaining Walls: Drainage Decides Whether Yours Lasts
Most failed retaining walls failed at the base or the back, not the face. Block types, the height where you need an engineer, and how to build one that holds.
How to Grow Tomatoes: Determinate or Indeterminate First
That one word on the seed packet decides your spacing, your pruning, and your harvest shape. Then it is warmth, consistent water, and feeding at the right time.
Outdoor Plants in Pots: What Survives, and What Kills Them
A pot outdoors is a harsher place than the ground — hotter, drier, and colder in winter. How to pick plants and pots that cope, and get through the cold.
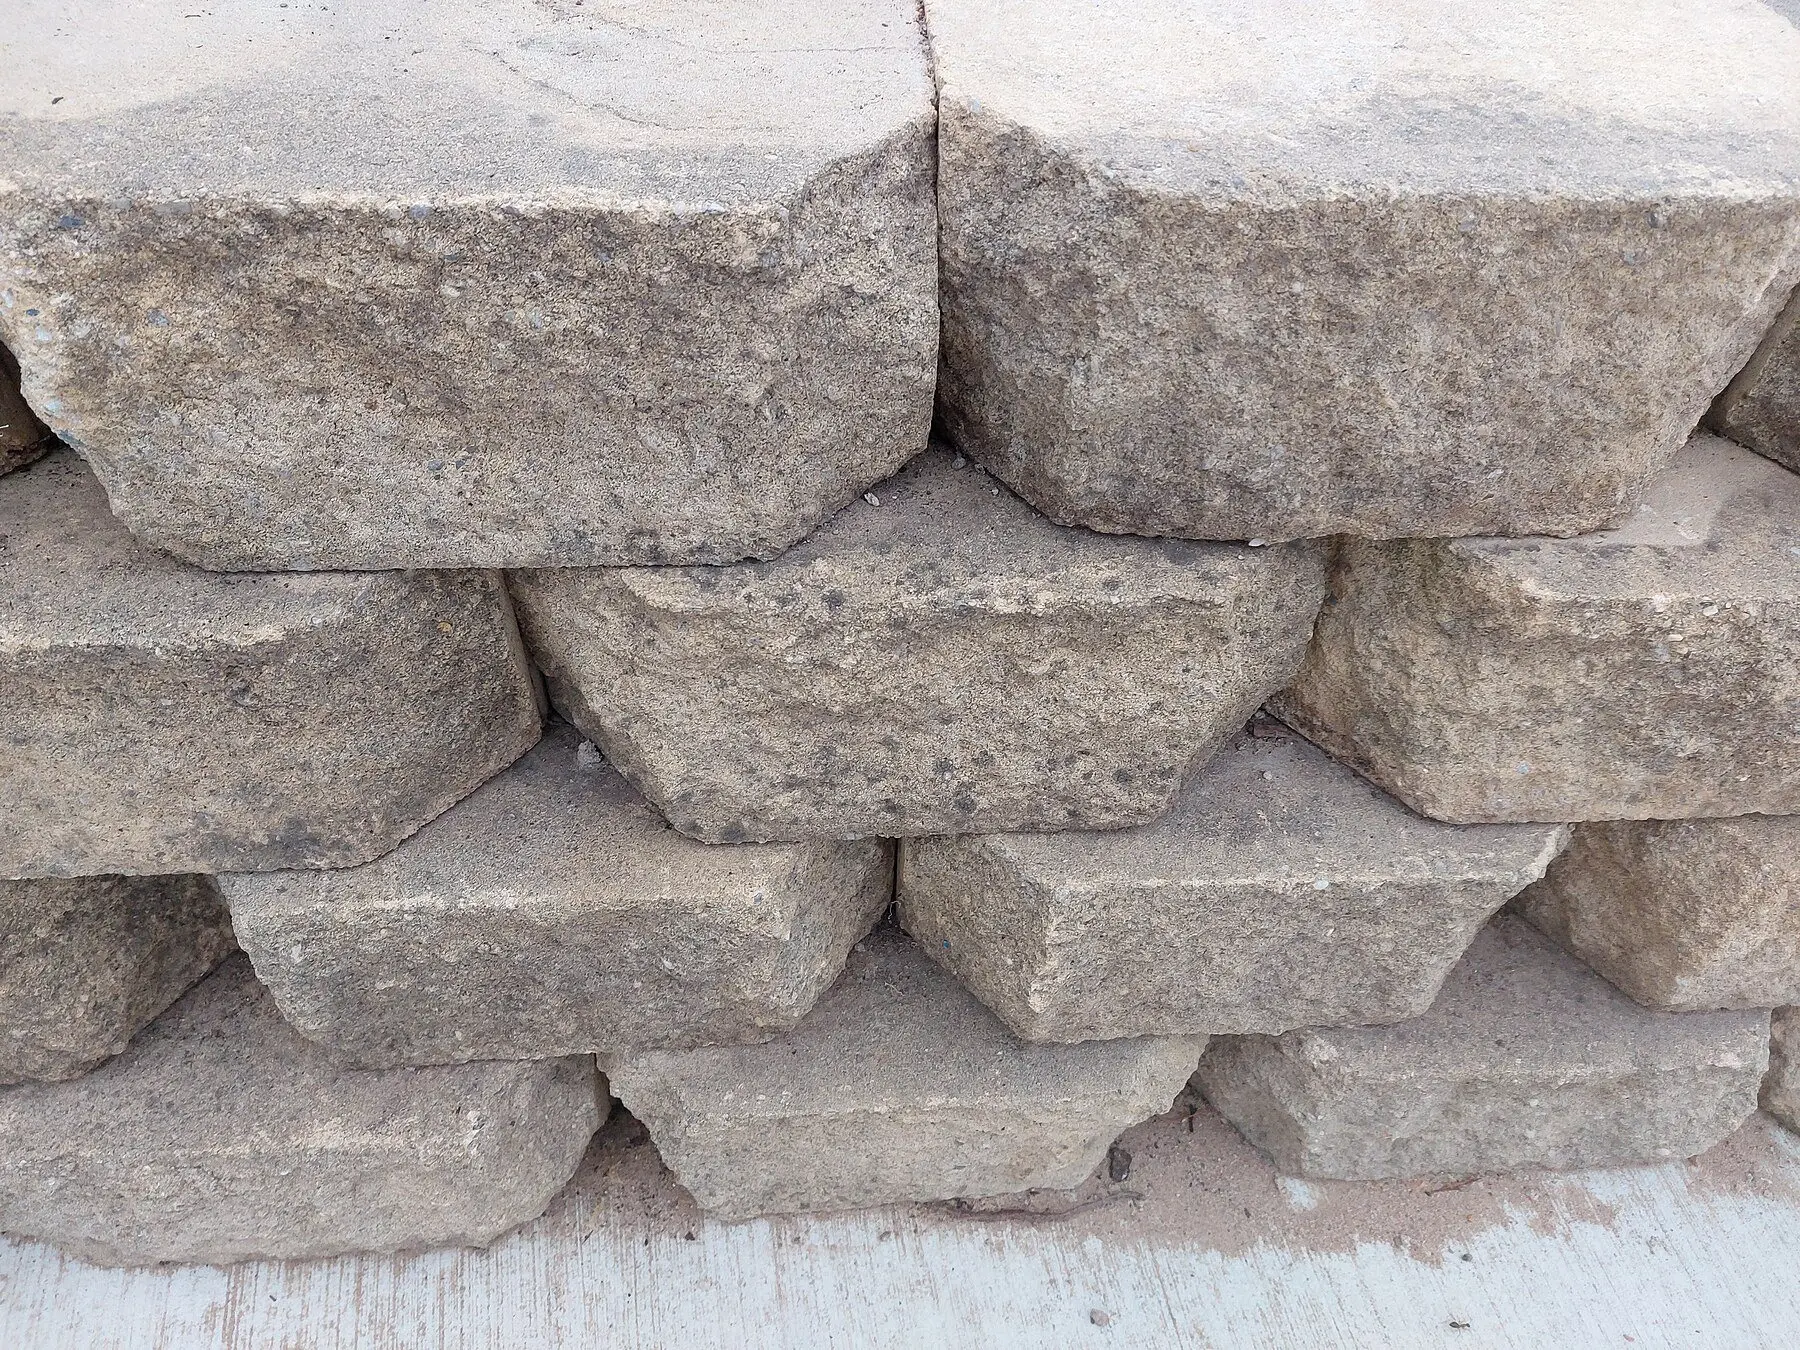
How to Build a Retaining Wall That Does Not Lean
Base depth, gravel backfill, and drainage decide whether a wall lasts thirty years or bulges in three. The full build, and when to call an engineer.