How to Grow Garlic in Pots: Depth, Size and Overwintering
Garlic needs a cold spell and eight months in the pot, so container size and winter protection decide whether you get bulbs or scallions.
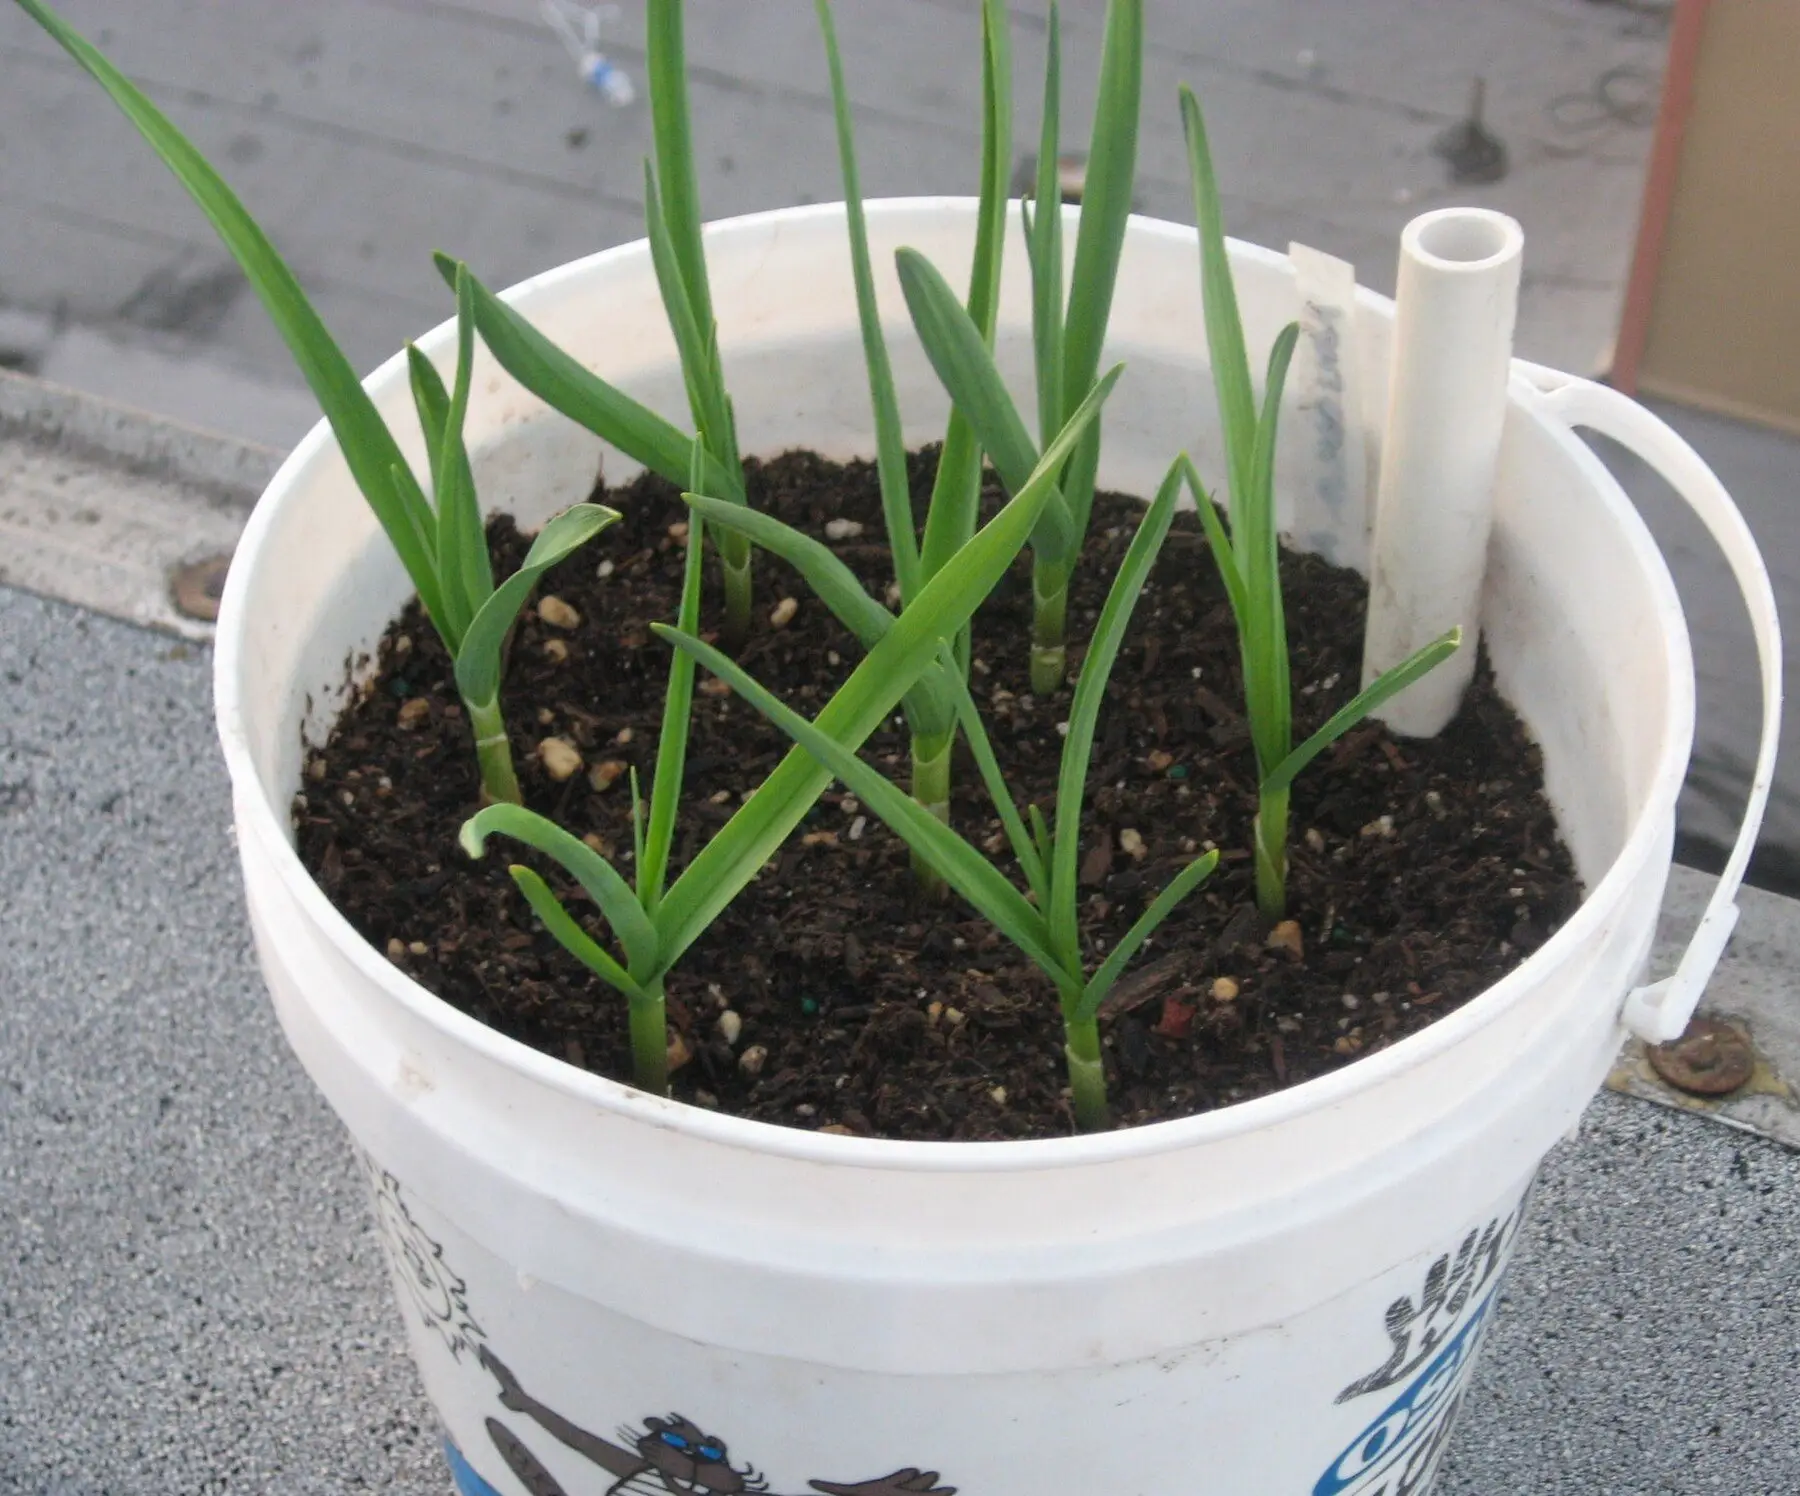

On this page
Garlic grows well in containers, with one constraint that catches people out: it wants a cold winter and about eight months. That makes the pot a long-term commitment, and it makes winter handling — not summer care — the thing that decides your harvest.
Why the cold matters
Garlic needs vernalization — a sustained cold period, roughly six weeks below 40°F — before it will divide into cloves. Without it, the plant puts everything into one undivided round: edible, and perfectly nice, but not a bulb of garlic.
This is why a windowsill does not work, and why autumn planting is the default. It is also why a pot left somewhere warm and sheltered “for protection” often disappoints.
The pot
Depth 8 inches minimum, 10–12 preferred. Roots go down; a shallow container both dries out and chills through to the core.
Drainage holes, always. Garlic sitting in water rots, and a pot with no outlet is the fastest way to find that out.
Material matters in winter. Terracotta cracks when the mix freezes and thaws repeatedly; thick plastic, glazed ceramic, wood, and fabric grow bags all handle it better. Fabric bags also breathe, which suits garlic well.
Sizing:
| Container | Cloves |
|---|---|
| 8-inch round pot | 2–3 |
| 12-inch round pot | 4–5 |
| Standard window box (30 inch) | 6–7 |
| 15-gallon fabric bag | 8–10 |
| Half wine barrel | 15–20 |
Mix, and planting
Two parts good peat-free potting mix to one part compost, plus a handful of slow-release balanced fertilizer. Not garden soil — it compacts in a container and drains badly.
Break the bulb into cloves the day you plant, leaving the skin on each. Use only the largest cloves; the relationship between clove size and finished bulb size is direct and unforgiving. The small inner ones go in the kitchen.
Point up, flat basal plate down, 2 inches deep, 4–6 inches apart.
Use certified seed garlic. Supermarket bulbs are often sprout-inhibited, usually softneck varieties selected for warm climates, and carry no screening against the viruses and nematodes certification exists to exclude.
Hardneck varieties handle cold better and give you scapes; softneck varieties store longer and suit mild winters.
Through the winter
Mulch two inches with straw or shredded leaves, and leave the pot outdoors.
The cold is wanted; a rootball frozen into a solid block for weeks is not — and a container tracks the air temperature in a way that ground soil does not.
- Zone 6 and warmer: leave it out, mulched.
- Zone 5 and colder: group pots together against a sheltered wall, wrap the sides with burlap or bubble wrap, or sink the pots into the ground or a pile of leaves.
Water very little while dormant — just enough that the mix never goes bone dry.
Spring onward
From the first green shoots: water when the top inch is dry, and feed every three weeks with a nitrogen-rich liquid feed (fish emulsion works well) until late spring. Then stop the nitrogen — late feeding produces leaves at the expense of the bulb.
Cut the scapes on hardneck varieties when they curl through one loop. Leaving them on costs you noticeable bulb size, and they are excellent in a stir fry or blitzed into pesto.
Stop watering two weeks before harvest
Dry soil at the end firms the wrappers and starts the curing process while the bulb is still in the ground. It is a small step that makes a real difference to how long the garlic keeps.
Harvest when roughly a third to a half of the leaves have browned but the rest are still green — every green leaf is one intact wrapper around the bulb. Tip the pot out rather than pulling by the stem, then cure for three or four weeks somewhere shaded and airy.
The indoor exception
You cannot get bulbs indoors, but you can get garlic greens, and they are worth having.
Plant cloves shoulder to shoulder in a shallow tray of mix, keep them on a bright sill, and cut the shoots at 6–8 inches. They regrow a couple of times, taste like a cross between garlic and chives, and give you something from the windowsill in February — which is more than can be said for most things.
Step by step
- Time
- P240D
- Cost
- $30
- You need
- Certified seed garlic, Peat-free potting mix, Compost, Slow-release balanced fertilizer, Straw or leaf mulch
- Tools
- A container at least 8 inches deep with drainage holes, Trowel, Watering can
Pick a pot at least 8 inches deep
Ten to twelve inches is better. Depth matters more than width because garlic roots go down, and a shallow pot freezes through and dries out too fast. Drainage holes are non-negotiable — garlic rots in standing water.
Fill with a free-draining mix
Two parts quality potting mix to one part compost, with a handful of slow-release balanced fertilizer. Do not use garden soil, which compacts into a brick in a container.
Plant in autumn, four to six weeks before the ground freezes
Garlic needs a cold period of roughly six weeks below 40F to form a proper multi-clove bulb. Planting in spring generally produces one large round rather than a segmented bulb.
Break the bulb into cloves at the last moment
Separate cloves the day you plant, keeping the papery skin on each one, and use only the largest. Small cloves make small bulbs, and the ratio holds precisely.
Set each clove point-up, two inches deep
Pointed end up, flat basal plate down, 2 inches deep and 4 to 6 inches apart. That spacing means roughly four or five cloves in a 12-inch pot — crowding them is the commonest container mistake.
Mulch and leave it outside for the winter
Two inches of straw or shredded leaves. The pot stays outdoors: the cold is the point. In zone 5 or colder, group pots against a sheltered wall or sink them in the ground so the rootball does not freeze solid.
Water sparingly through winter, steadily in spring
Barely any water while dormant — just enough that the mix is not bone dry. From the first spring growth, water when the top inch dries, and feed every three weeks with a nitrogen-rich liquid feed until late spring.
Cut scapes, then stop watering before harvest
On hardneck varieties, cut the curling flower stalks when they loop once, and eat them. Stop watering two weeks before harvest, and lift when about a third to a half of the leaves have browned.
Common questions
What size pot do you need for garlic?
Can you grow garlic indoors?
When should you plant garlic in containers?
How long does garlic take to grow in a pot?
Can you grow garlic from a supermarket bulb?
Do container garlic plants need winter protection?
Backyard Weekly
Know what to plant, week by week
Free planting calendar. Join the weekly email for seasonal jobs, fixes for what is going wrong, and gear worth buying.
Set MONETIZATION.email.endpoint in src/config/site.ts to enable this form.
By subscribing you agree to our privacy policy. Grow In Backyard will never sell your address.
Keep reading
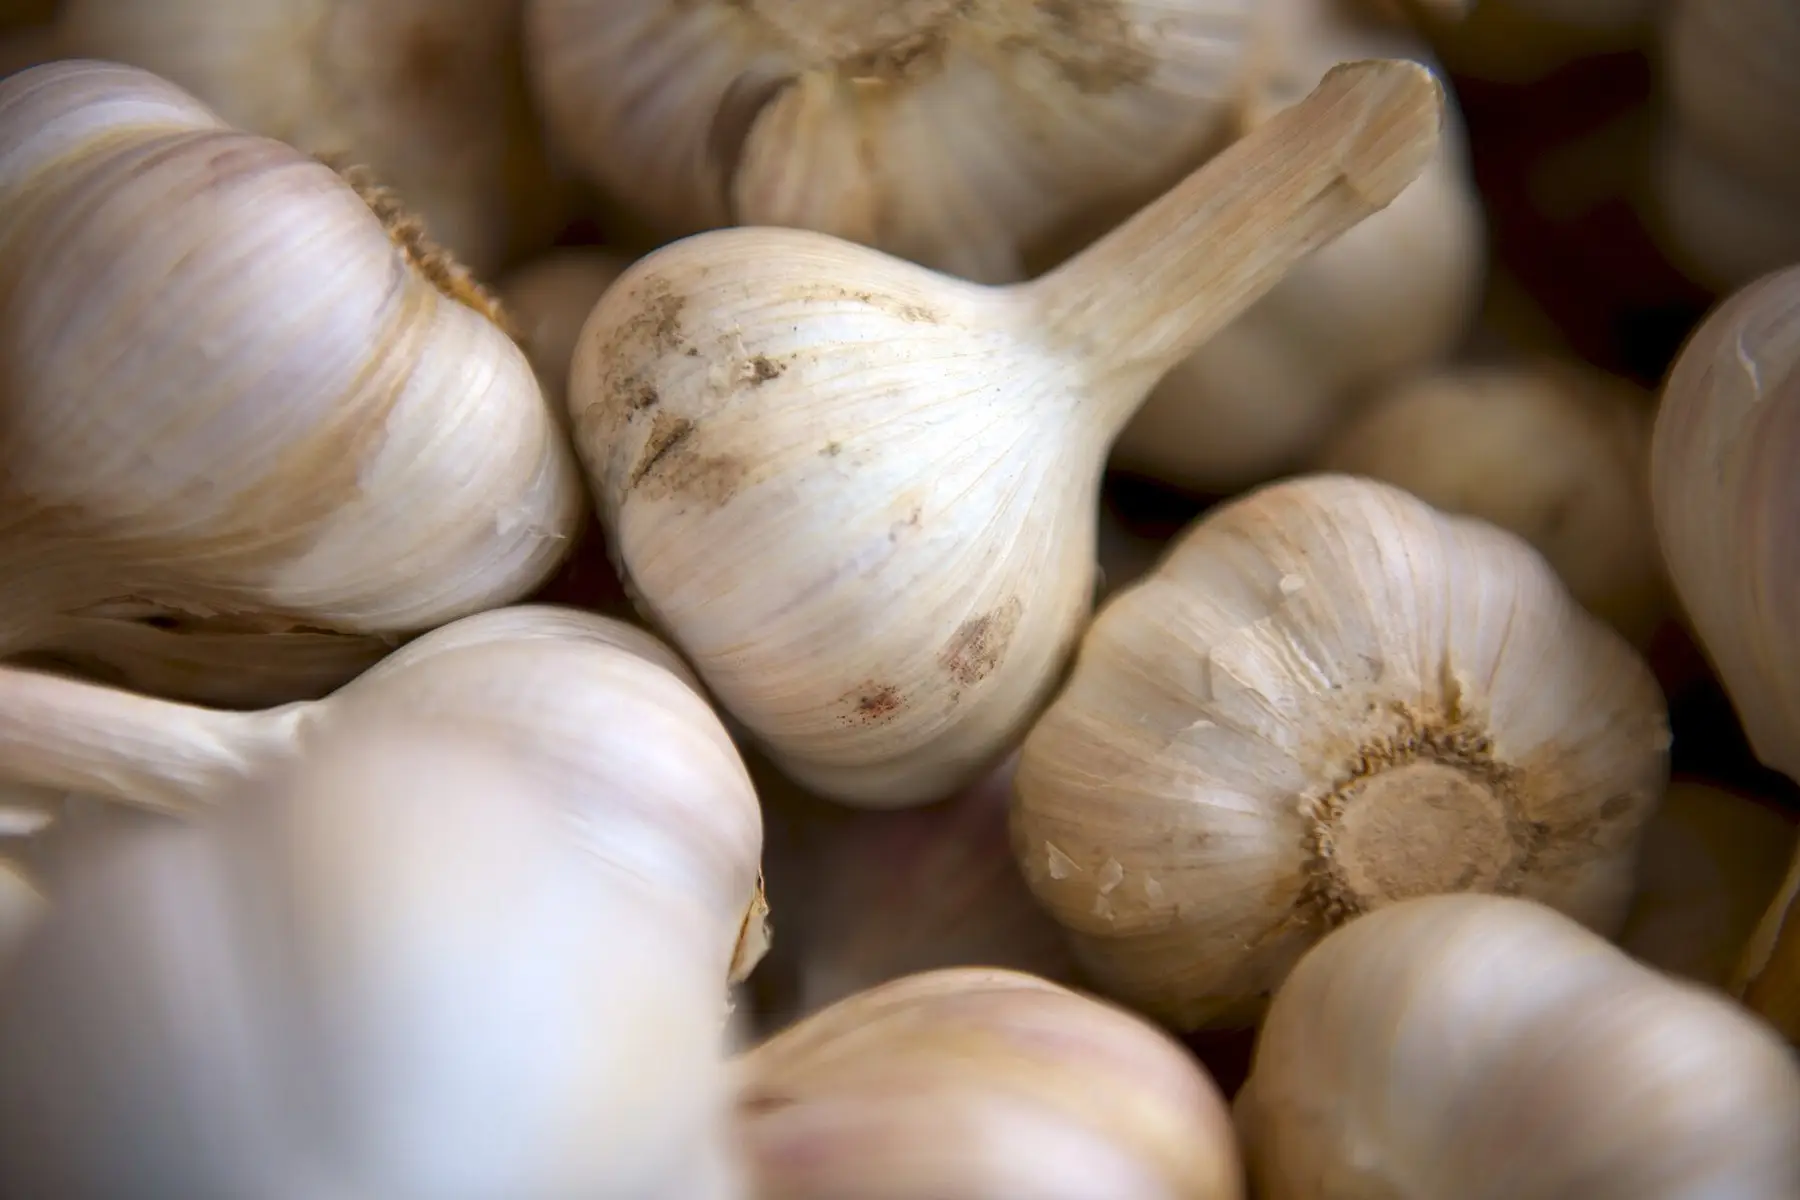
How to Grow Garlic: Plant in Fall, Harvest in July
Garlic is the easiest crop in the garden if you plant it at the right time. Here is the full cycle — choosing bulbs, planting depth, mulch, scapes, and harvest.
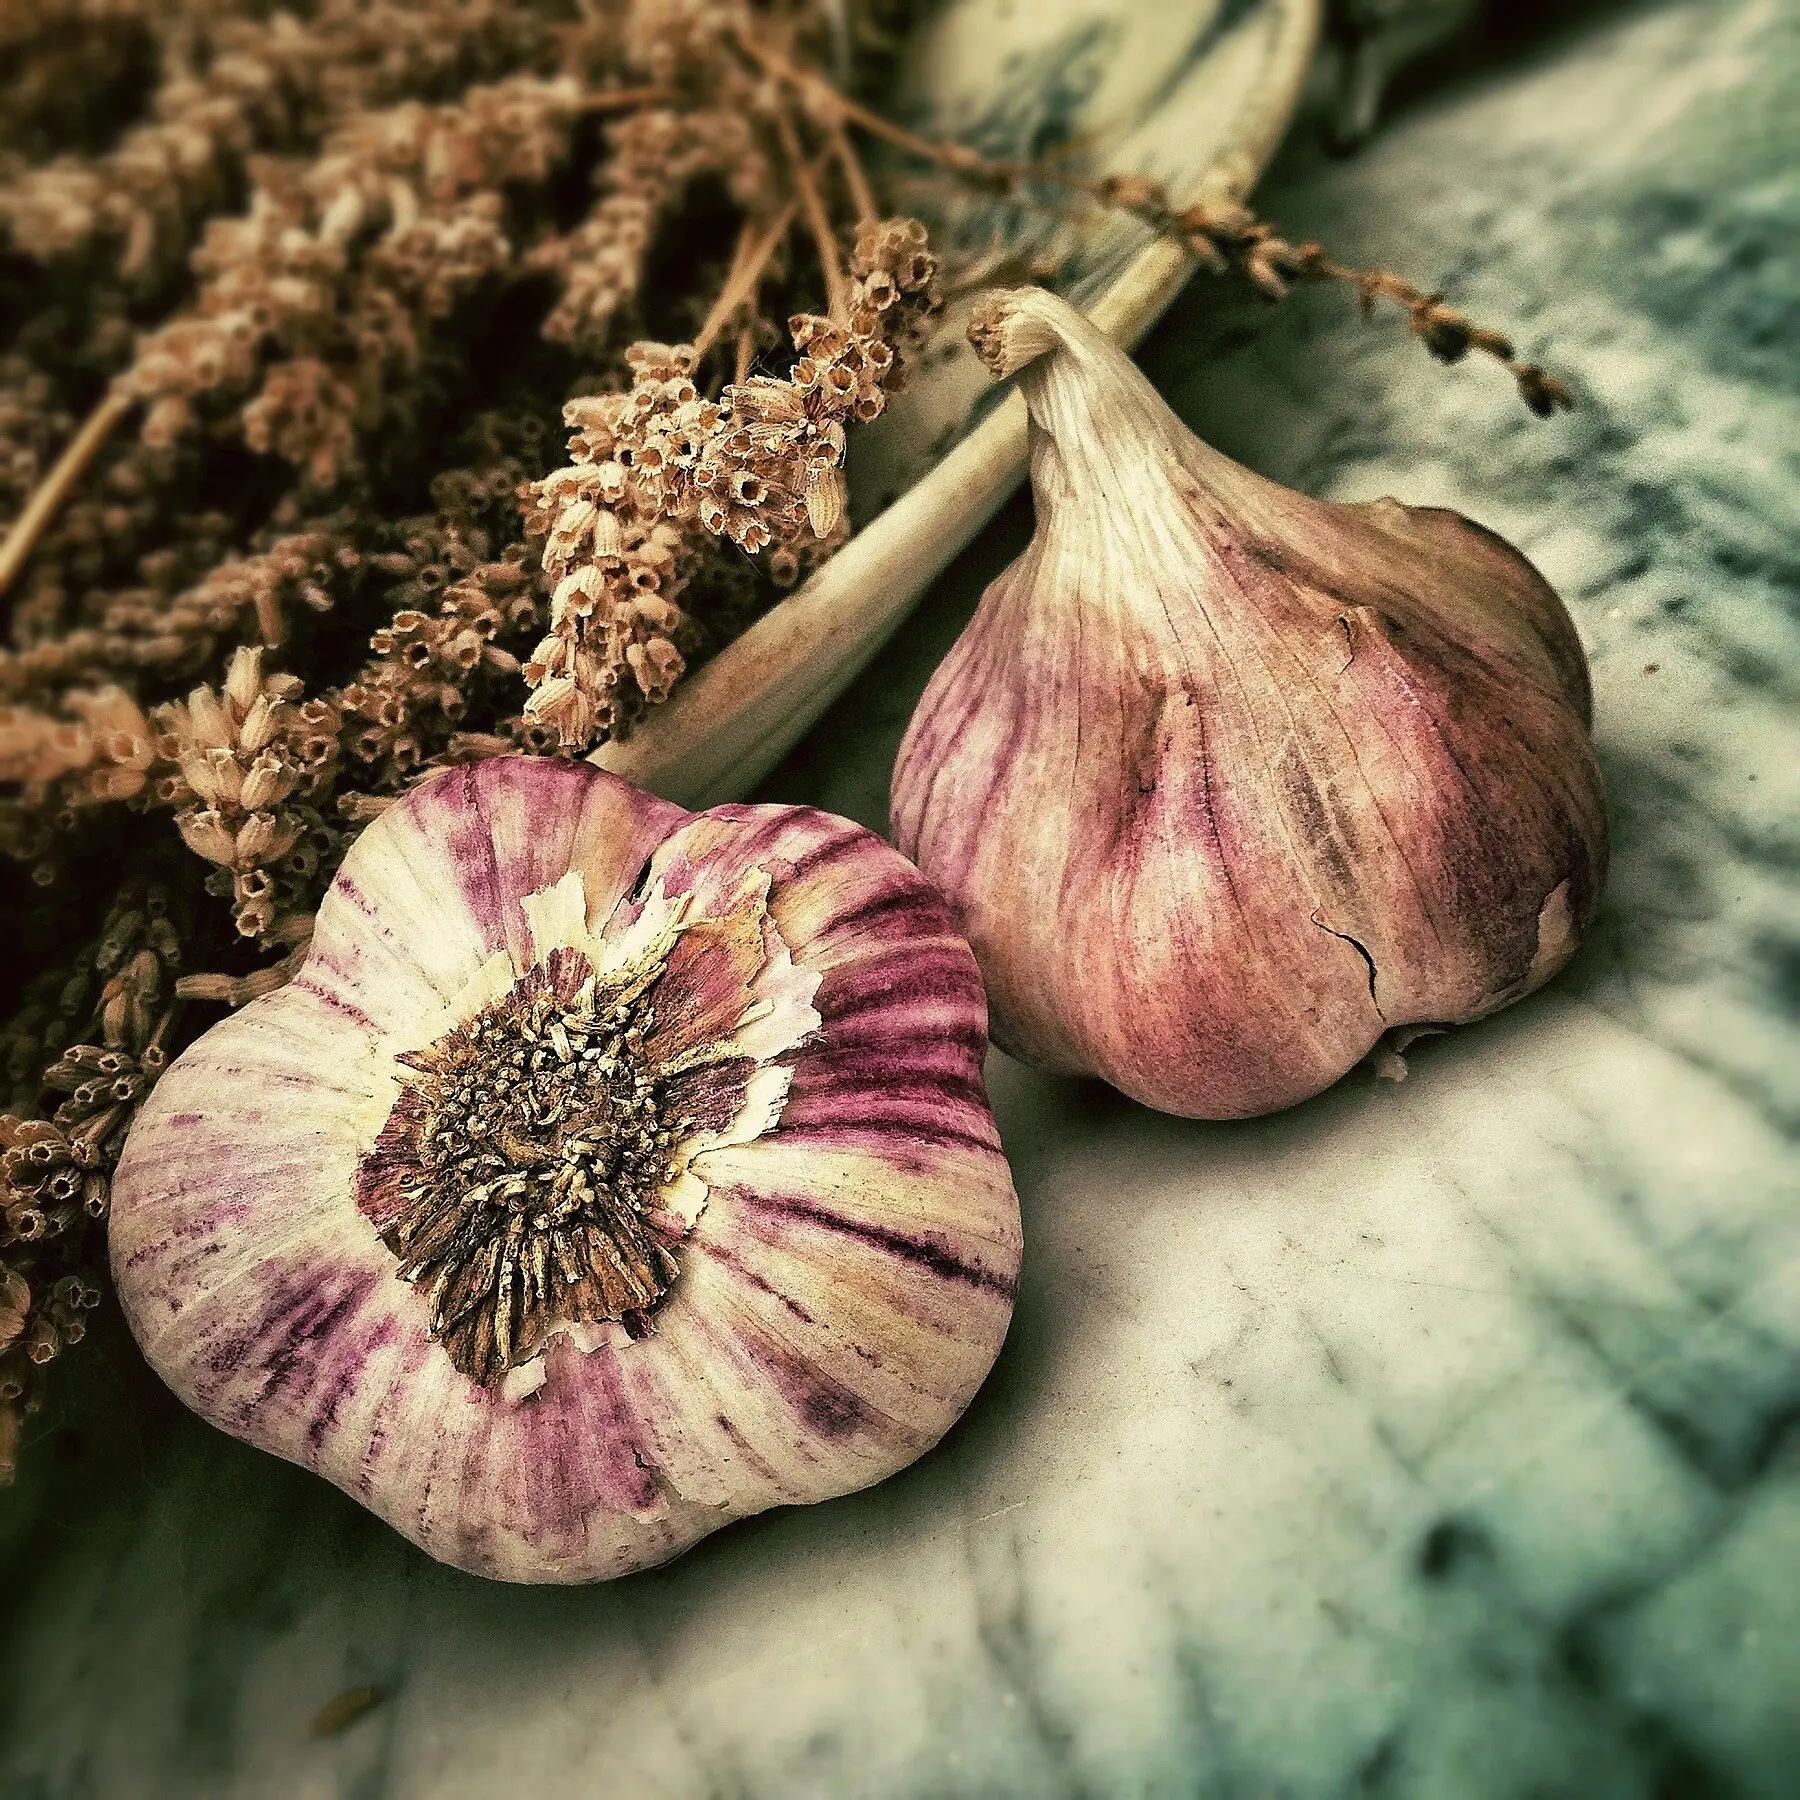
How to Store Garlic So It Keeps Until Next Summer
Cured garlic keeps six to ten months in a dark, dry, airy spot at room temperature. Why the fridge ruins it, and what to do with a bulb that has sprouted.
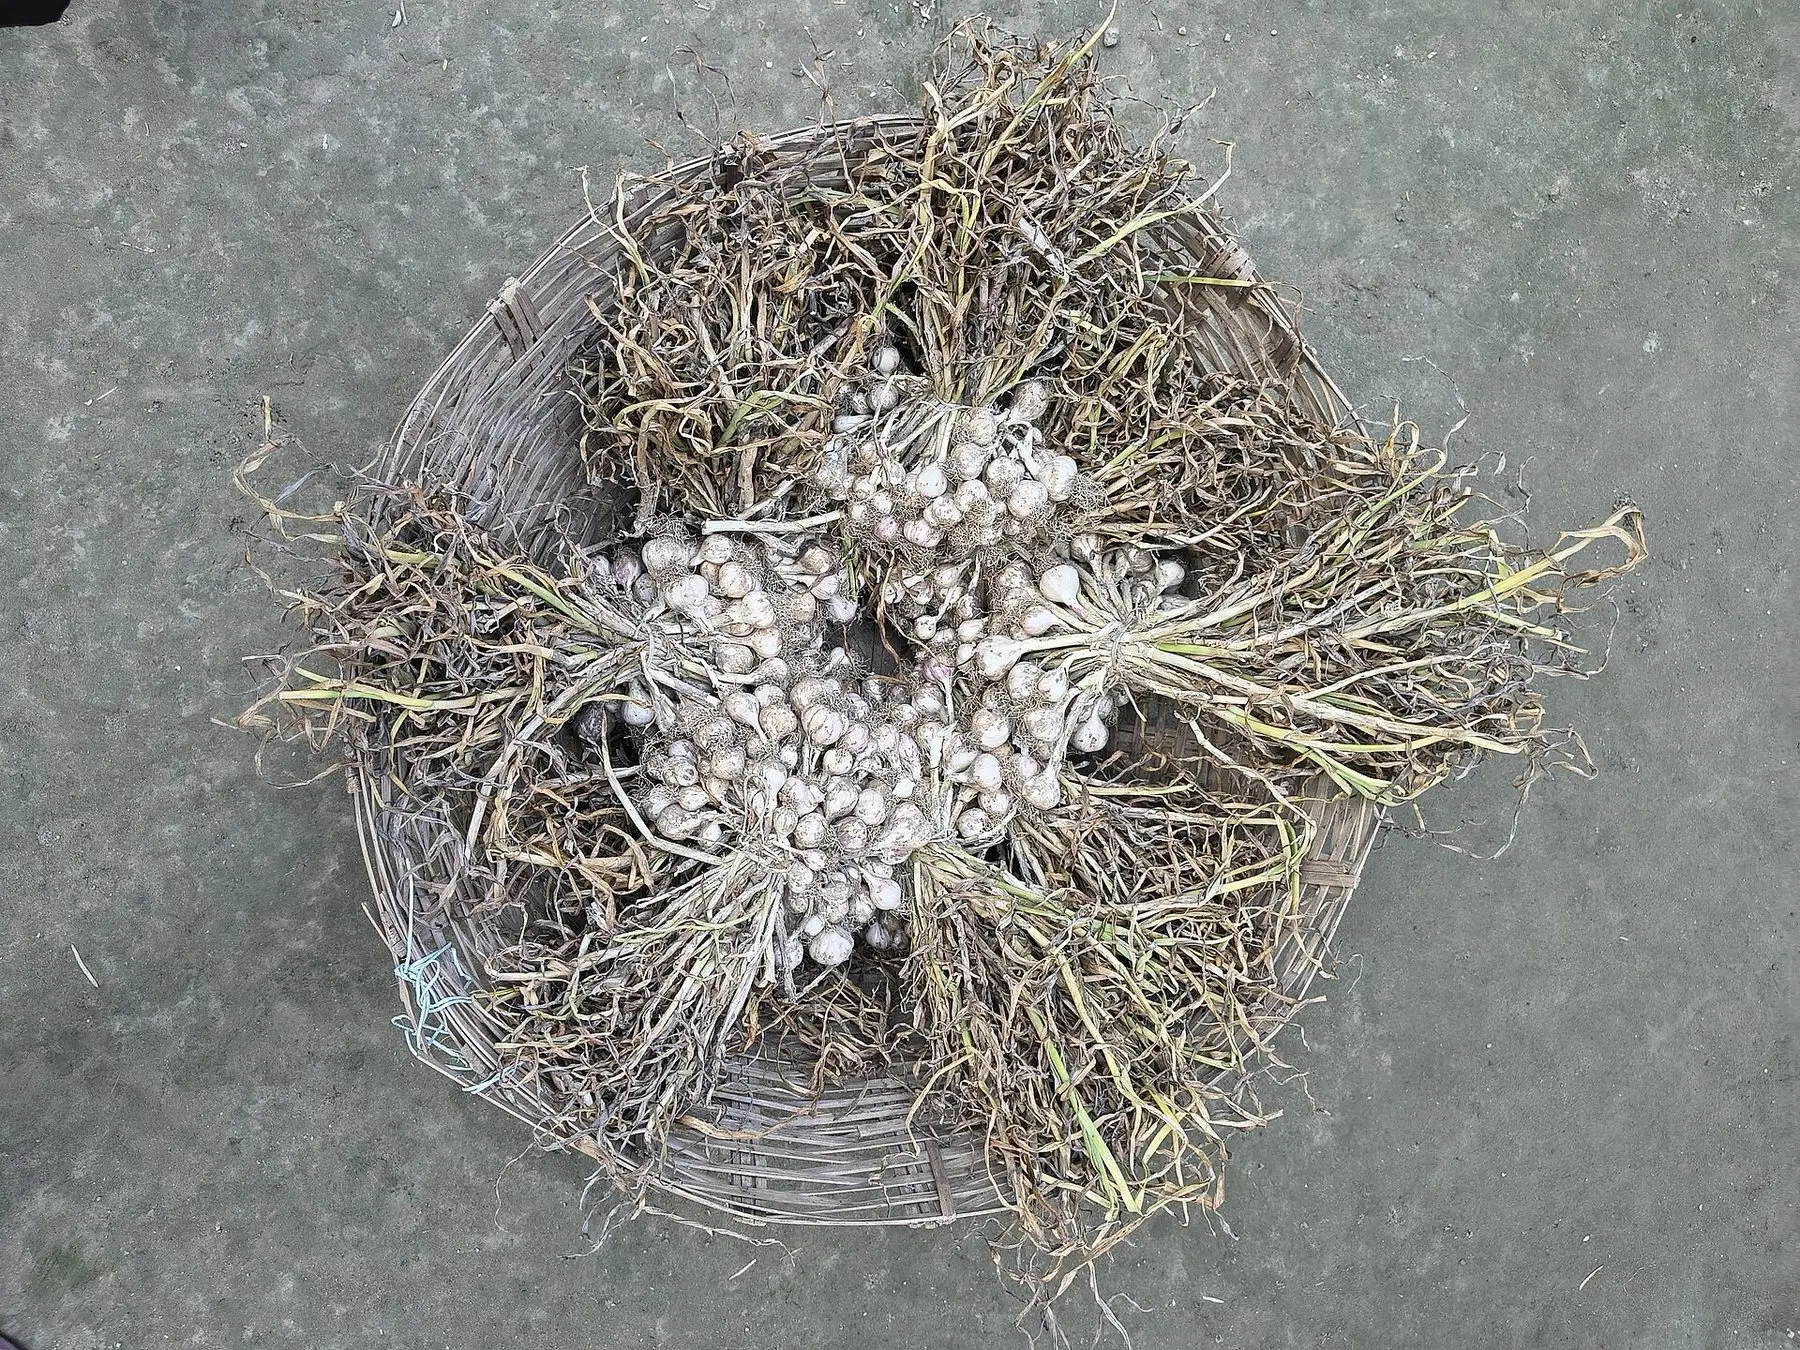
When to Harvest Garlic (Count the Brown Leaves)
Garlic is ready when three or four lower leaves have browned and five or six are still green — usually July. How to read the plant and test before you dig.
Elephant Ear Plant Care: Light, Water and Overwintering
Colocasia wants wet feet and heat; Alocasia wants drainage and humidity. Which one you have decides the care — plus how to lift and store the tubers.