How to Restring a Wind Chime (10 Minutes, No Special Tools)
A wind chime with a snapped string is a five-dollar fix, not a reason to replace it. The order to rethread the tubes in, and the knot that actually holds.

On this page
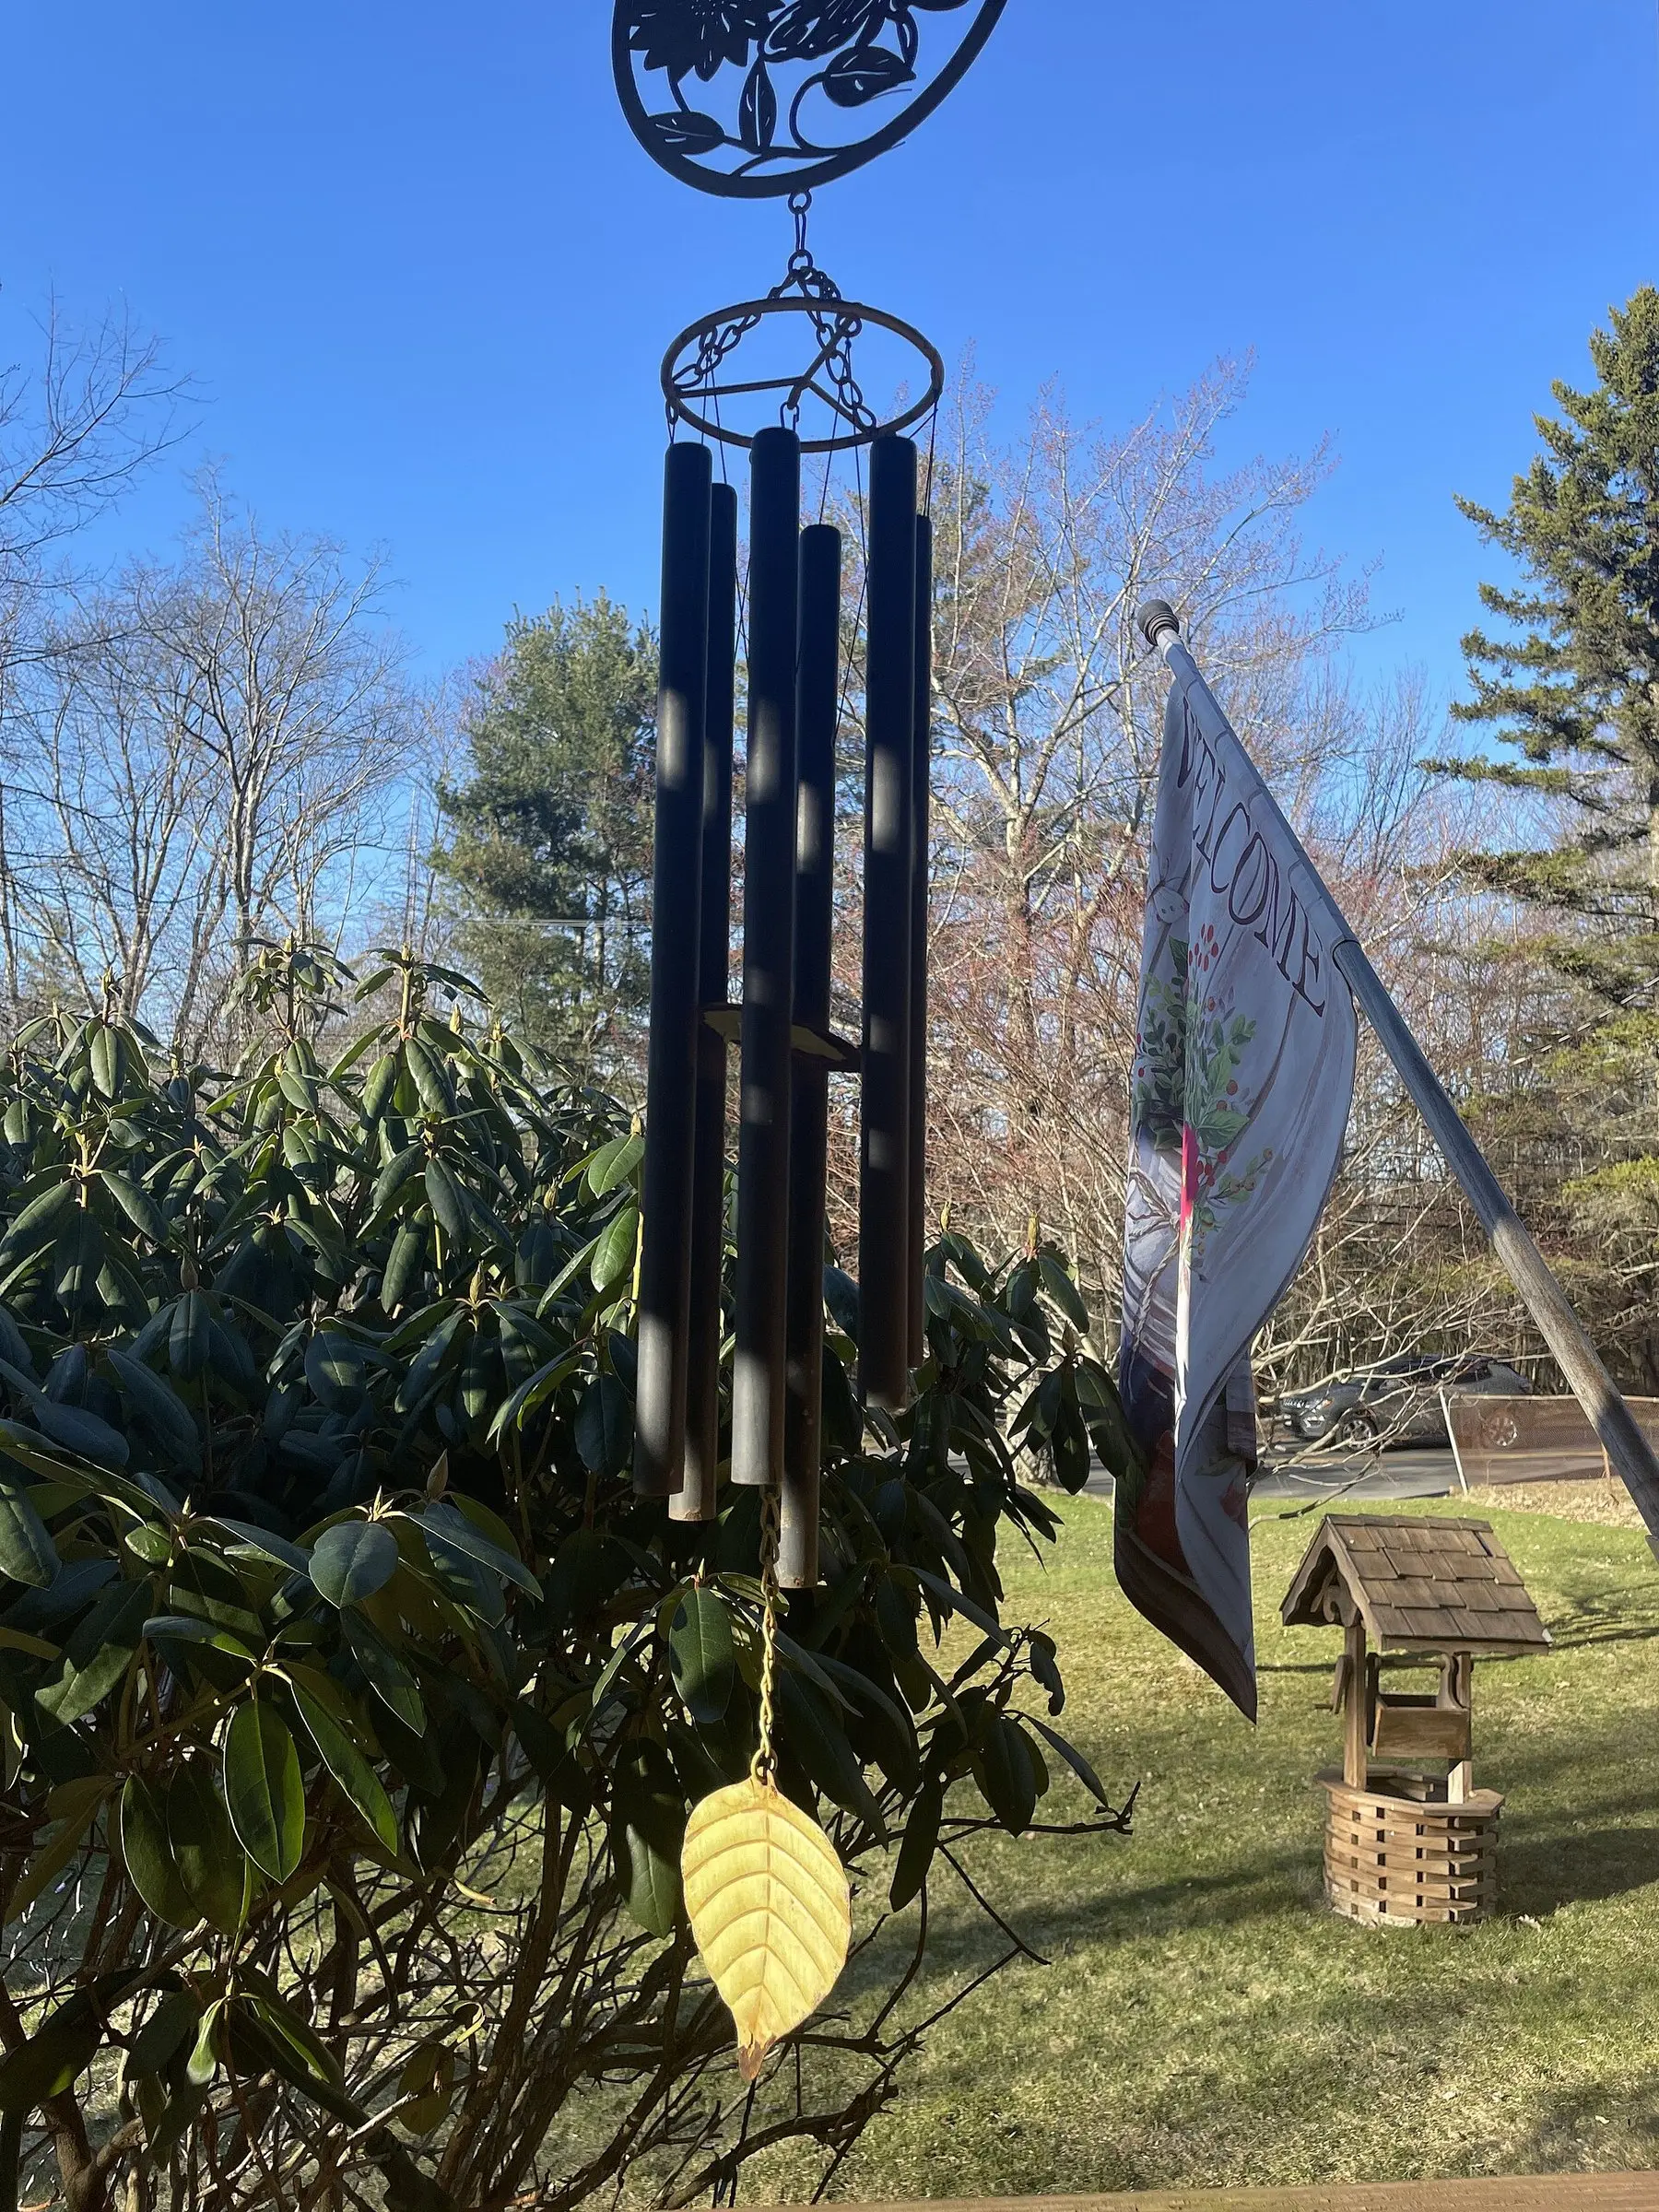
A wind chime with a snapped cord usually gets thrown out or left silent in a shed, which is a shame — the tubes essentially never wear out, and the whole repair is a few dollars of cord and about fifteen minutes.
The repair in order
| Step | Purpose |
|---|---|
| Lay out in order | Prevents reassembly mistakes — the most common cause of a lopsided or silent chime |
| Thread top to bottom | Keeps tension even across all tubes |
| Stopper knot under each tube | Holds tube position without needing glue or hardware |
| Clapper on center cord | Determines whether the chime sounds in light wind |
| Adjust by ear | Gets clapper height right faster than measuring |
Use real weatherproof cord
Ordinary string or cotton cord degrades in UV light far faster than cord actually rated for outdoor use. Braided nylon or a heavy fishing line sold as weatherproof costs very little more and is the difference between a repair that lasts one season and one that lasts several.
Getting the clapper height right
This is the step that actually determines whether the repair sounds correct, and it is worth doing by ear rather than by measurement. Hang the finished chime and tap it lightly:
- No sound, or a dull thud — the clapper isn’t reaching the tubes; shorten the center cord.
- Constant rattling even without wind — the clapper is resting against a tube; lengthen it slightly.
- Clear, distinct tone with a light tap — correct. Leave it.
Small adjustments of a half-inch at a time are usually enough to go from wrong to right.
Reattach the top loop last
Wait until the clapper height is confirmed correct before finalising the top suspension cord. It is far easier to adjust the assembly while it is sitting on a table than after it is already hanging from a hook.
When it’s worth replacing instead
If the tubes themselves are dented, cracked, or corroded — rather than just the string having failed — restringing won’t fix the actual problem. A chime with sound-quality issues traced to the tubes, not the cord, is a case for replacement rather than repair. For everything else, the tubes are the durable part and the cord is the wear item, which is exactly why this repair is worth doing before buying a new chime.
Step by step
- Time
- PT15M
- Cost
- $5
- You need
- Nylon cord or fishing line (weatherproof), Replacement clapper/striker if the original is damaged
- Tools
- Scissors, A pen or thin rod (to help thread through narrow holes)
Lay everything out in order
Before cutting any string, arrange the tubes, the top cap, the clapper, and the wind-catcher in the order and orientation they came apart in. Restringing out of order is the most common reason a repaired chime doesn't hang straight or sound right.
Cut new cord to length, generously
Cut each length about 6 inches longer than the old string it replaces. It is much easier to trim excess after tying than to discover a piece is too short once it is half-threaded.
Thread the tubes from the top down
Feed the cord down through the top cap, through the center hole of each tube in sequence, and out the bottom. A pen or thin rod pushed through first, then taped to the cord, helps pull it through narrow or angled holes.
Tie a stopper knot below the lowest tube
A simple double overhand knot pulled snug against the underside of the bottom tube stops it sliding back up the cord. Test by pulling firmly before moving on — a knot that slips now will slip in the wind later.
Reattach the clapper and wind-catcher
Thread the clapper onto the center cord so it hangs at the height that lets it strike the tubes, then attach the wind-catcher below it. This center string is usually longer than the tube strings and determines how easily the chime sounds in light wind.
Adjust clapper height by ear
Hang the chime and give it a light tap. If the clapper isn't reliably reaching the tubes, shorten the center cord slightly; if it's striking too hard or tangling, lengthen it a touch. Small adjustments here matter more than exact measurements.
Reattach the top hanging loop last
Tie or reattach the top suspension cord once everything below it is confirmed working — it is much easier to fix a clapper height problem before the whole assembly is hanging from a hook.
Common questions
What kind of string should I use to restring a wind chime?
Why does my restrung wind chime not make a sound?
Can you restring a wind chime without replacing the tubes?
How long does wind chime string usually last outdoors?
Backyard Weekly
Know what to plant, week by week
Free planting calendar. Join the weekly email for seasonal jobs, fixes for what is going wrong, and gear worth buying.
Set MONETIZATION.email.endpoint in src/config/site.ts to enable this form.
By subscribing you agree to our privacy policy. Grow In Backyard will never sell your address.
Keep reading

Garden Decor Ideas That Don't Look Cluttered in a Year
Most backyard decor gets added piece by piece until the yard looks like a garden center. A short list of what earns its place, and what to skip.

Outdoor Garden Lighting Ideas That Get Used Past Month Two
Most outdoor lighting gets hung once and never turned on again. The five kinds worth the effort, and the color temperature that makes or breaks all of them.
How to Build a Retaining Wall That Does Not Lean
Base depth, gravel backfill, and drainage decide whether a wall lasts thirty years or bulges in three. The full build, and when to call an engineer.

Backyard Bar and Grill: Planning One That Gets Used
A garden bar fails on the same things a kitchen does — no landing space, no shade, no drainage. Layouts by budget, and the height that decides everything else.