
Prickly Pear Cactus Propagation: Pads, Callus, Patience
A pad twisted off at the joint and left to callus for two weeks roots easily. Rushing the callus, or burying the pad deep, is what kills them.
 By
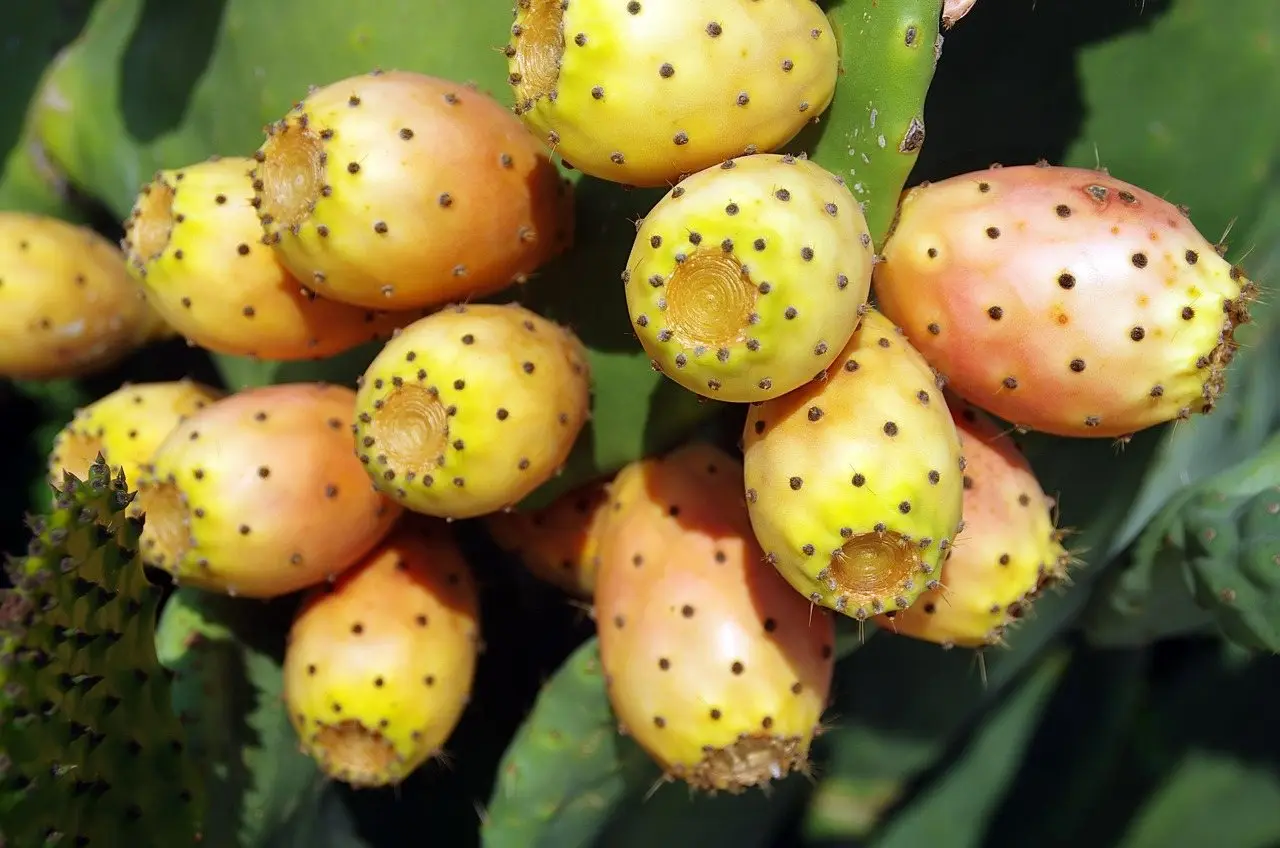
On this page
Twist off a pad, let it callus for two weeks, plant it shallow, and wait to water. Every failure in prickly pear propagation is one of those four steps being skipped.
Taking the pad
Choose well. A healthy, firm, mature pad from an established plant — not the newest growth at the top, which is soft and higher in water, and not an old woody basal one.
Take it at the joint. Pads detach naturally at the narrow junction where one meets another. Twisting there, or cutting cleanly through it with a sterile blade, leaves a small tidy wound. Cutting across the middle of a pad leaves a much larger one that takes longer to callus and is more likely to rot.
Glochids are worse than the spines
The fine hair-like tufts at each areole detach on the lightest contact, embed in skin instantly, and are very difficult to remove — far more trouble than the large visible spines.
Thick gloves plus folded newspaper or tongs. Not thin gardening gloves, which they go straight through. Brush down your clothes afterwards.
Callusing, which is the step that decides it
| Pad | Callus time |
|---|---|
| Thin, small | 7–10 days |
| Typical mature pad | 10–14 days |
| Thick or fleshy | 2–3 weeks |
| Humid conditions | Add a week |
Stand the pad upright or lean it against something, somewhere dry, shaded and airy. Not in sun, which scorches it, and not in a sealed container.
It is ready when the cut surface is dry, firm and papery, with no soft or moist tissue left. If in doubt, wait longer — there is no penalty for over-callusing and a substantial one for rushing it.
Planting
- Dry gritty compost. Cactus mix with extra perlite, pumice or coarse sand. Do not pre-water
- Plant 2–3 cm deep, calloused end down, just enough to stand upright
- Support it with stones or a cane if it will not stand — never plant deeper to solve this
- Bright but not fierce sun for the first few weeks
- No water for one to two weeks
- Then water lightly and let the compost dry out completely before the next
Roots usually form in four to six weeks. A gentle tug that meets resistance is the test; new growth at the top is the confirmation.
Timing
Late spring through summer. The pad has warmth to root in and a full season to establish before cold weather.
Autumn and winter pads mostly sit dormant in cool damp conditions, which is exactly the situation in which rot wins. In frost-prone areas, a pad rooted in early summer is properly established by the time winter arrives — the difference between a plant that comes through and one that does not.
Outdoors, in the ground
For hardy Opuntia species in a suitable climate:
- Full sun, and a position with genuinely sharp drainage
- Raised bed, slope or mound. Winter wet kills hardy prickly pear far more often than cold
- Gritty, sandy, lean soil. No compost-rich beds
- Gravel mulch around the base
- Expect winter shrivelling. Hardy opuntias dehydrate deliberately and look dreadful by February, then plump up in spring. It is not a problem
If a pad rots
- Cut above the damage with a sterile blade, into firm green tissue
- Check the cut face — any brown flecking means cut higher
- Discard the rotted section; do not compost it
- Callus the new wound properly, longer than before
- Start again in fresh dry gritty mix
Caught early, a rotting pad becomes a shorter pad that roots perfectly well. Caught late, there is nothing firm left to save.
Step by step
- Time
- P60D
- Cost
- 10
- You need
- A healthy mature pad from an established plant, Gritty cactus compost, or sandy free-draining soil
- Tools
- Thick gloves and folded newspaper or tongs, A clean sharp knife
Work with gloves and folded newspaper
Never bare hands. The glochids — fine hair-like tufts at each areole — detach on contact and embed in skin, and they are far harder to remove than the large spines.
Choose a healthy mature pad
Firm and fully grown, from an established plant. Avoid the soft new growth at the top and the old woody pads at the base.
Twist it off at the joint
Pads separate naturally where one meets another. Twist there, or cut cleanly through the joint with a sterile blade, which leaves a small tidy wound.
Callus it for one to two weeks
Stand the pad somewhere dry, shaded and airy until the cut is dry, firm and papery. Allow longer for a thick pad or in humid weather. This step decides whether it roots or rots.
Prepare dry gritty compost
Cactus mix with extra perlite, pumice or coarse sand. Fill the pot and leave it dry — do not pre-water it.
Plant shallowly, 2 to 3 cm deep
Calloused end down, just deep enough to stand the pad upright. Support it with stones or a cane rather than burying it deeper, since depth increases rot risk.
Give no water for one to two weeks
The pad lives on its own stored water while roots form. Damp compost against a newly planted base is the usual cause of failure.
Water lightly once rooted
After a couple of weeks give a small amount of water and let the compost dry out completely before the next. A gentle tug meeting resistance means roots have formed.
Propagate in late spring or summer
Warmth and a full growing season ahead are what let the pad establish before winter. Autumn and winter pads usually rot rather than root.
Common questions
How do you propagate prickly pear from a pad?
How long should a prickly pear pad callus?
When is the best time to propagate prickly pear?
Can you grow prickly pear from seed?
How do you handle prickly pear pads safely?
Backyard Weekly
Know what to plant, week by week
Join the weekly email for seasonal jobs, fixes for what is going wrong, and gear worth buying.
Not ready to subscribe? The planting calendar is free and needs no email.
By subscribing you agree to our privacy policy. Grow In Backyard will never sell your address.
Keep reading
How to Plant Cactus Cuttings: Callus First, Water Last
A fresh cut planted straight into damp compost rots. Let the wound callus for days or weeks, pot dry, and wait before the first watering.
How to Grow Cacti: Light, Grit and a Dry Winter Rest
Most cacti die from winter watering, not neglect. Gritty mix, the brightest window, a soak in summer and almost nothing from October to March.
Zebra Plant Succulent: Haworthia Care, and Two Plants
Two very different plants share this name. The succulent Haworthiopsis is near-indestructible; the tropical Aphelandra is not. Here is how to tell.
When to Plant Blackberry Bushes: Late Winter On
Bare-root canes go in while dormant, containers any time the ground works. Know whether yours fruits on floricanes or primocanes before you prune.