
How to Tell if an Arborvitae Is Dying: The Scratch Test
Brown arborvitae foliage is often seasonal shedding, not death. Scratching the bark and checking where the brown sits separates the two in a minute.
 By

On this page
Most brown arborvitae are not dying. Two checks — a thumbnail scratch and where the brown sits — separate a plant that is shedding normally from one that is in real trouble, and they take about a minute.
The scratch test
Take a thumbnail, or the back of a knife, and remove a small patch of the thin outer bark on a branch.
| Where you scratch | Green underneath | Brown underneath |
|---|---|---|
| Outer twig | That twig is alive | Dead twig — test further in |
| Main branch | Branch alive, tips may regrow | Branch dead to that point |
| Trunk, mid-height | Plant alive | Test lower |
| Trunk, near the base | Plant is alive — be patient | Plant is dead |
Work from the outside in
Start at a twig tip and move toward the trunk until you hit green. The point where brown becomes green is how far back the damage goes — and it is usually less far than the foliage suggests.
Where the brown sits
This is the detail that turns an alarming autumn into a non-event.
Normal shedding: arborvitae drop their oldest foliage, which is the growth nearest the trunk. A band of orange-brown appears inside the plant while the outer surface stays green, and the dead material shakes out. Every healthy specimen does this.
A problem: brown at the tips and outer surfaces, especially on one side, with greener growth deeper in. That is drought, winter burn, or roots that are not working.
The usual causes of real browning
- Drought, especially in years one and two. The commonest killer of newly planted arborvitae, and the symptoms arrive weeks after the dry spell that caused them. Water deeply and regularly through the first two growing seasons.
- Winter burn. Foliage keeps losing water on bright windy winter days while frozen roots cannot replace it. Shows on the windward and sunny sides, often with a sharp line at old snow level.
- Waterlogging. Arborvitae will not tolerate a root zone that stays saturated. Browning from the bottom up on heavy ground points here.
- Root damage or girdling from planting too deep, a tight wire basket left on, or trenching work nearby.
The brown will not turn green again
Arborvitae regenerate poorly from old bare wood. A branch cut back past all its green foliage usually stays a gap permanently. Trim dead material back only to where live green begins, and let the plant fill in from the tips over one to three seasons.
What to do with a plant that passes the scratch test
- Water deeply — slowly, at the root zone, enough to wet the whole root ball.
- Mulch 5–8 cm / 2–3 in deep, kept clear of the trunk itself.
- Do not feed a stressed plant. Fertiliser pushes growth that struggling roots cannot support.
- Shake or brush out the dead inner foliage so light reaches the live growth.
- Wait a full growing season before deciding. Recovery is measured in seasons, not weeks.
Common questions
How can I tell if my arborvitae is dying?
Is it normal for arborvitae to turn brown inside?
Will a brown arborvitae turn green again?
What is winter burn on arborvitae?
How much water does a new arborvitae need?
Can you cut dead branches off an arborvitae?
Backyard Weekly
Know what to plant, week by week
Join the weekly email for seasonal jobs, fixes for what is going wrong, and gear worth buying.
Not ready to subscribe? The planting calendar is free and needs no email.
By subscribing you agree to our privacy policy. Grow In Backyard will never sell your address.
Keep reading
Why Are My Hydrangeas Dying? Usually Water, Not Disease
Wilting in afternoon sun that recovers overnight is normal. Browning leaf edges, sudden collapse and bare stems each point somewhere different.
When Is the Best Time to Transplant a Tree? While Dormant
Move trees in late autumn after leaf drop or early spring before bud break. Dormancy is what lets roots re-establish before the canopy needs water.
Do Magnolia Trees Lose Their Leaves? Some Do, Some Don't
Deciduous magnolias drop everything in autumn; evergreen ones shed year-round. How to tell which you have, and when leaf drop signals a problem.
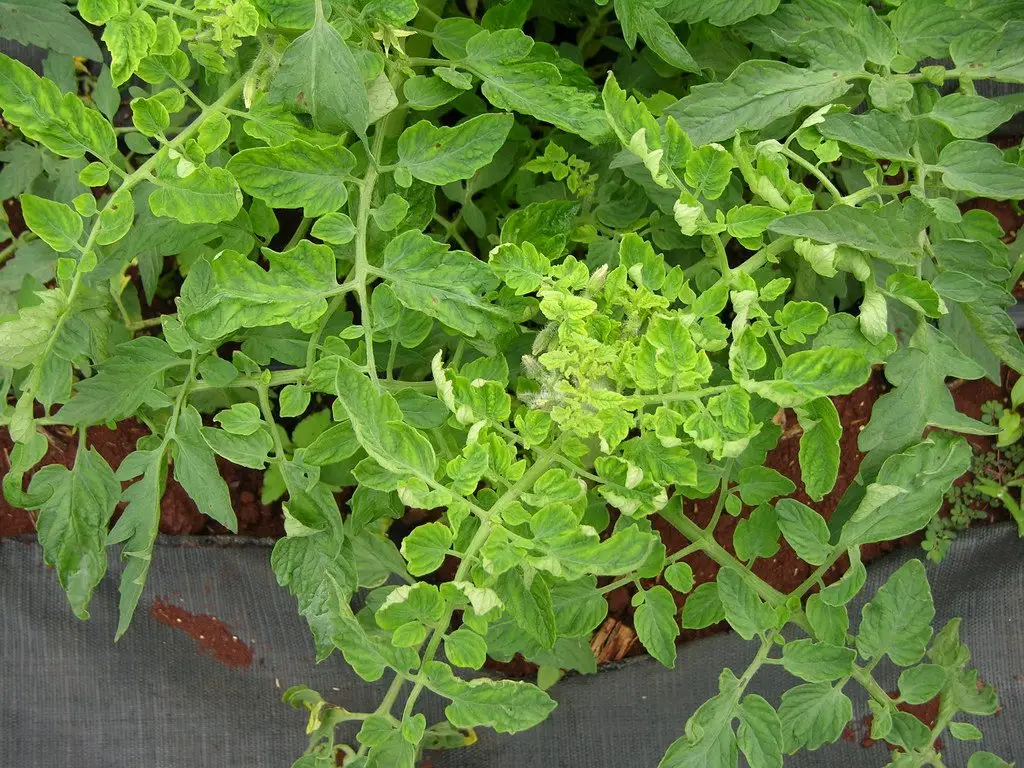
Tomato Plant Leaves Curling: 7 Causes, and Which Matter
Most curling tomato leaves are harmless leaf roll from heat or water stress. A few causes are serious. Here is how to tell them apart in under a minute.