
How to Clean Garden Tools — 4 Items, One Autumn Hour
How to clean garden tools at season's end: scrape, sharpen, then oil. 4 items cover the whole routine in about an hour. See what each one does.
 By
We may earn a commission when you buy through links on this page, at no extra cost to you.
On this page
Soil holds moisture against steel, and that is the entire mechanism of rust. Everything else in this routine is secondary to getting tools clean and genuinely dry before they go away.
The sequence
- Scrape and brush while the soil is still damp, then hose off
- Mineral spirits or alcohol for sap and resin — water will not touch it
- Dry completely, and leave somewhere airy for an hour
- De-rust — wire brush, or a vinegar soak for the bad cases
- Sharpen with a mill file
- Oil metal and handles
Acid-stripped steel flash-rusts
After a vinegar soak the surface has no protection at all. Rinse, neutralise with a little baking soda in water, dry immediately, and oil it the same day.
Leaving a vinegar-cleaned tool to drip dry produces more rust than you started with.
Sharpening, briefly
- A mill file, not a grinder — a grinder overheats the edge and ruins the temper
- Follow the bevel angle already there. Do not invent a new one
- One direction, pushing away from you, on the bevelled face only
- A couple of passes is usually enough
A sharp spade cuts roots instead of tearing them, and takes noticeably less effort to push.
Oil, and the fire risk
| Use | Avoid | |
|---|---|---|
| Steel | Light machine oil, camellia oil | Vegetable oils — they go rancid and sticky |
| Wooden handles | Boiled linseed oil | Varnish, which cracks and traps moisture |
Boiled linseed oil rags can catch fire on their own
As linseed oil cures it generates heat. A balled-up rag insulates that heat and can reach ignition temperature with no flame involved.
Spread rags flat outdoors to dry, or soak them in water before binning them. Never leave them crumpled in a bucket or a bin bag.
Disinfecting is a different job
Cleaning removes soil. Disinfecting kills pathogens, and it is only worth doing when there is a pathogen to kill.
- When: cutting out canker, fireblight, or anything viral; moving between plants during an outbreak
- Then between cuts, not between jobs
- 70% isopropyl alcohol — works on contact, no rinse, does not corrode
- 10% bleach works but pits steel, so it must be rinsed and dried
Routine pruning of healthy plants does not need it.
The habit that matters more than the annual clean
A sand and oil bucket by the shed door
Coarse sand with light oil mixed through. Plunge a spade in a few times on the way back and it comes out scoured and lightly oiled.
It does not sharpen, and it will not reach the pivot of a dirty secateur. But the damage is done by the week a muddy spade spends leaning in a damp shed — not by the winter it spends clean.
Our picks
| # | Pick | Best for | Where to buy |
|---|---|---|---|
| 1 | Stiff wire brush | For the scrape-and-clean step | Check price for Stiff wire brush → |
| 2 | Boiled linseed oil | For protecting steel and handles | Check price for Boiled linseed oil → |
| 3 | Diamond sharpening file | For the edges | Check price for Diamond sharpening file → |
| 4 | Isopropyl alcohol | For disinfecting, which is a different job | Check price for Isopropyl alcohol → |
For the scrape-and-clean step
Stiff wire brush
The first tool in the sequence. Clean while damp and the whole job takes a quarter of the time.
- Use
- Removing soil, sap and light rust
- Best
- While the soil is still damp
- Pair with
- A scraper for caked blades
- Material
- Steel bristles
What we liked
- Dried soil is far harder to shift than damp soil
- Takes off light surface rust before it pits the steel
- Cheap and lasts years
Worth knowing
- Will scratch a polished or coated finish
- Bristles shed over time
For protecting steel and handles
Boiled linseed oil
Effective, and the disposal matters as much as the application. Linseed-soaked rags generate heat as they cure and have started fires in sheds.
- Use
- A thin wipe on clean, dry metal and wooden handles
- Critical
- Oily rags can self-heat and ignite
- Dispose
- Spread rags flat to dry, or seal in water in a metal tin
- Never
- Ball up an oily rag in a bin
What we liked
- Keeps a film of oil between steel and damp air
- Feeds and protects wooden handles at the same time
- A small tin lasts years
Worth knowing
- The fire risk is real and routinely underestimated
- Slow to cure in cold weather
For the edges
Diamond sharpening file
Sharpen after cleaning and before oiling. A sharp hoe is the difference between slicing weeds and dragging at them.
- For
- Spades, hoes, secateurs, loppers
- When
- Once tools are clean and dry
- Angle
- Follow the existing bevel
- Also
- A sharp spade cuts roots instead of tearing
What we liked
- A sharp spade and hoe make the work noticeably easier
- Follows the existing bevel without regrinding
- Works on every edged tool in the shed
- Takes minutes per tool
Worth knowing
- Easy to round an edge if you change the angle
For disinfecting, which is a different job
Isopropyl alcohol
Keep a bottle with the secateurs for disease work. Routine cleaning does not need it; pruning a cankered branch does.
- Use
- Wiping blades between plants when disease is present
- Why
- Cleaning removes soil; disinfecting kills pathogens
- Strength
- 70% is sufficient
- When
- Pruning diseased wood, not routine cleaning
What we liked
- Prevents carrying canker, blight or virus from plant to plant
- Evaporates fast, so no residue and no rusting if dried
- Cheap, and useful for a dozen other jobs
Worth knowing
- Flammable
- Dries out wooden handles if splashed about
Step by step
- Time
- PT45M
- You need
- Light machine oil or camellia oil, Boiled linseed oil for wooden handles, Coarse sand, 70% isopropyl alcohol
- Tools
- Stiff brush and paint scraper, Wire brush or steel wool, Mill file, Bucket
Scrape the soil off while it is still damp
Dried soil comes off far harder than fresh. A paint scraper and a stiff brush do most of it, and a jet from the hose finishes the job. The reason this matters is simple: soil holds moisture against steel, and moisture against steel is the whole mechanism of rust.
Deal with sap and resin separately
Water will not shift pine resin or dried sap from blades. Mineral spirits or isopropyl alcohol on a rag will. Sticky blades drag through cuts and crush stems rather than slicing them, so this is a performance job as much as a cleaning one.
Dry everything completely
This is the step that actually prevents rust, and the one most often skipped. Towel the metal dry and leave tools somewhere airy for an hour before putting them away. A tool hung up wet rusts whether or not you cleaned it.
Take off existing rust
Wire brush or steel wool for light surface rust. For heavier rust, a soak in white vinegar for a few hours softens it enough to scrub off — then rinse, neutralise with a little baking soda in water, and dry immediately, because an acid-stripped surface rusts very fast if left damp.
Sharpen the edges that cut
A mill file on spades, hoes and shears, following the bevel angle already there rather than inventing a new one. File in one direction, pushing away from your body, and only on the bevelled face. A sharp spade cuts roots instead of tearing them and takes far less effort to use.
Oil metal and handles
A wipe of light machine oil on steel. Boiled linseed oil on wooden handles, which stops them drying out and splintering. Both take two minutes and are the difference between tools that last a decade and tools that last three seasons.
Common questions
How do you clean garden tools?
What is the best way to remove rust from garden tools?
Does a sand and oil bucket work?
When do I need to disinfect tools rather than just clean them?
What oil should I use on garden tools?
How often should garden tools be cleaned?
Backyard Weekly
Know what to plant, week by week
Join the weekly email for seasonal jobs, fixes for what is going wrong, and gear worth buying.
Not ready to subscribe? The planting calendar is free and needs no email.
By subscribing you agree to our privacy policy. Grow In Backyard will never sell your address.
Keep reading
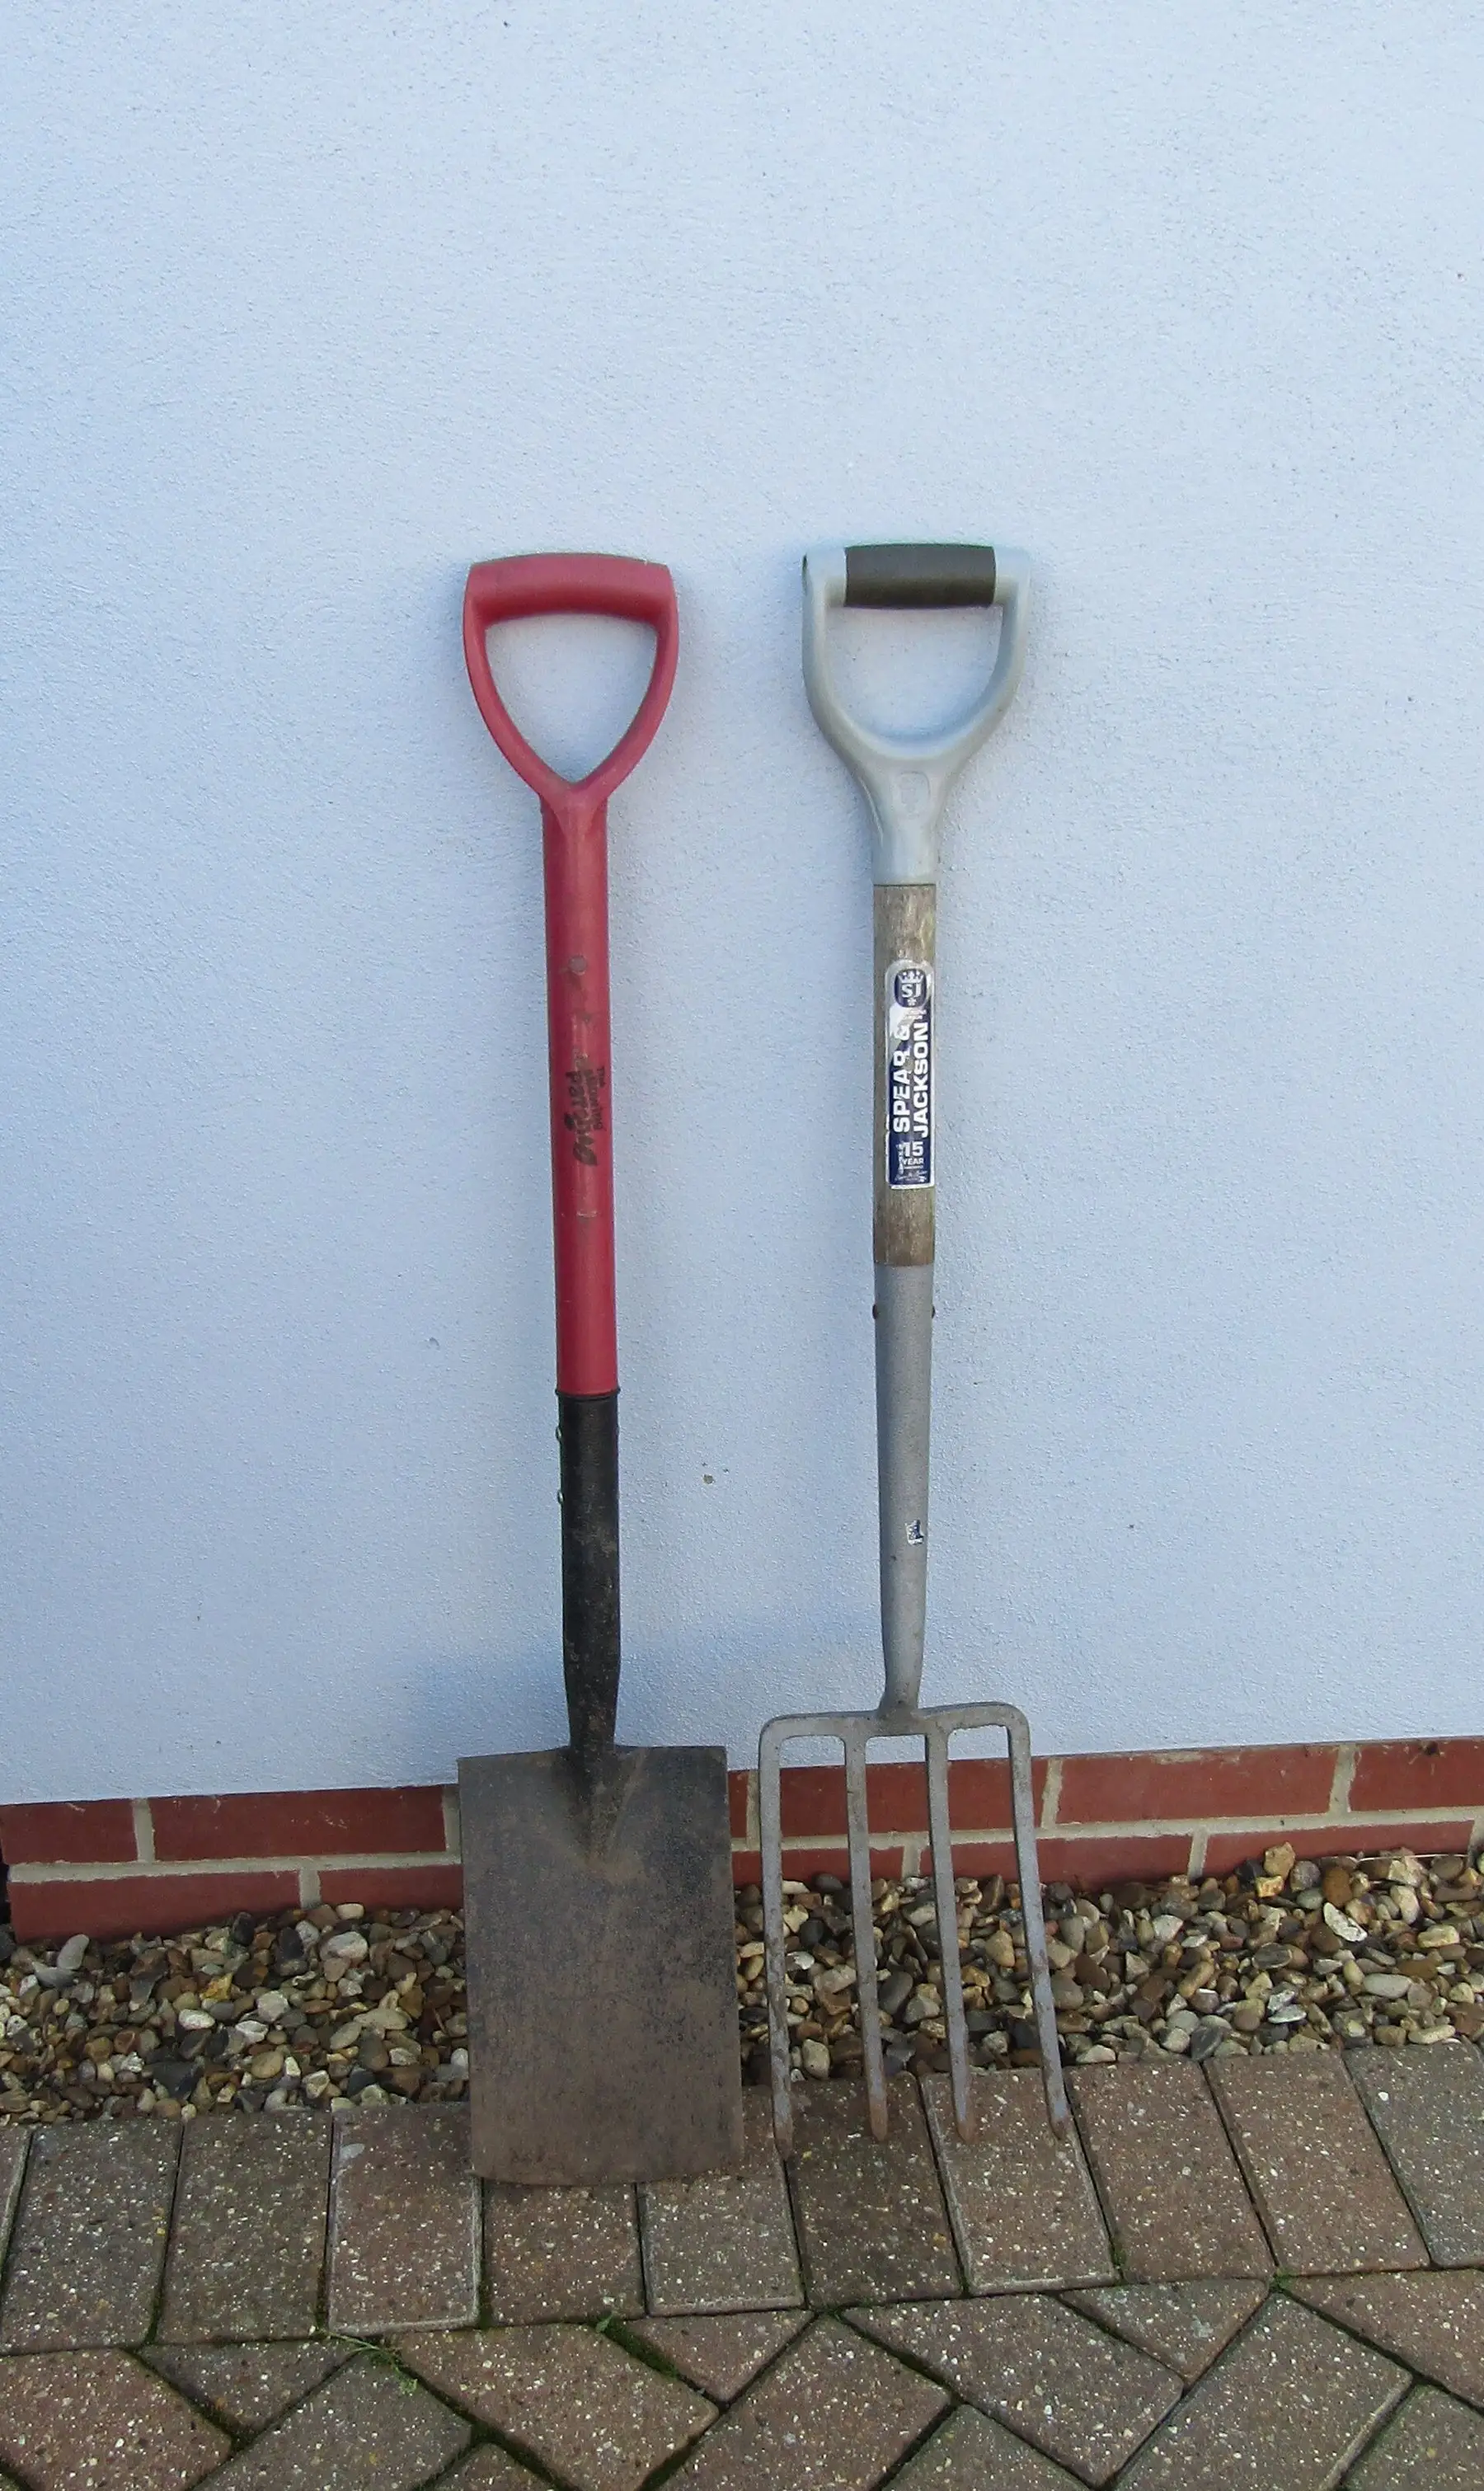
Spade vs Shovel: Which One You Actually Need
A spade cuts, a shovel scoops — and most people are digging with the wrong one. The difference, the handle types, and what to check before buying.
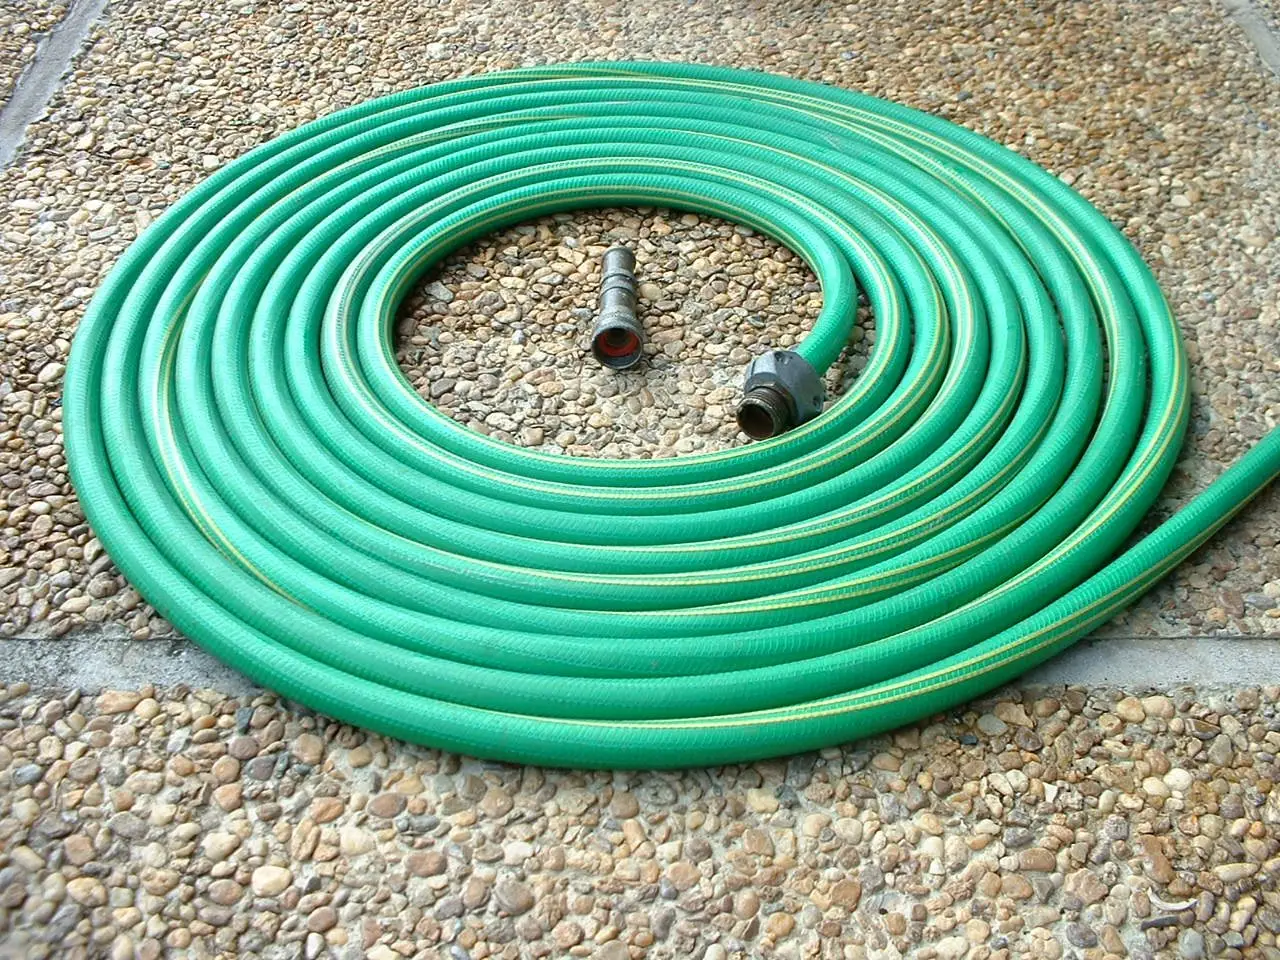
Best Garden Hose — 4 Picks and the Spec That Decides
The best garden hose is decided by burst pressure and fittings. 4 picks compared on weight, kinking and repair. See which suits your tap.
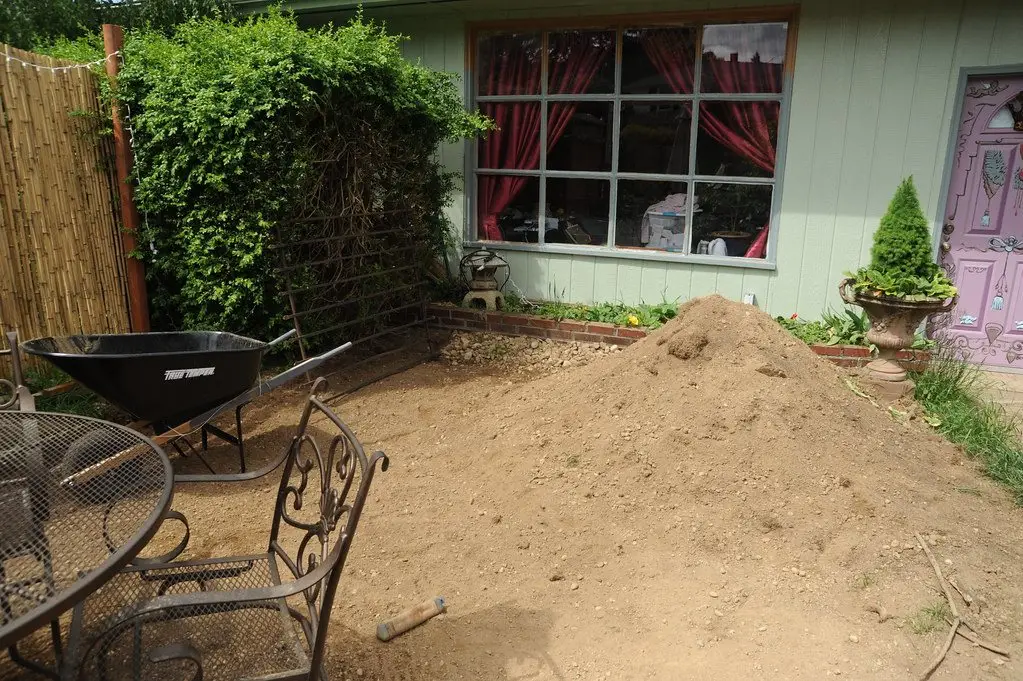
How Many Wheelbarrows in a Ton? Weight Decides, Not Volume
A barrow's rated capacity is not what you can lift. Realistic loads for soil, gravel, sand and mulch — and the sum that works for any material.
What Does CFM Mean on a Leaf Blower? Volume, Not Speed
CFM is how much air moves, MPH is how fast. One shifts piles, the other unsticks wet leaves — and the numbers are not comparable between brands.